How to manipulate date date/time fields on a form
Within most bundles, Kinetic Data leverages a javascript library called moment for date manipulation. For this guide, please verify that moment has been included within your bundle. Details and documentation for the moment library can be found here.
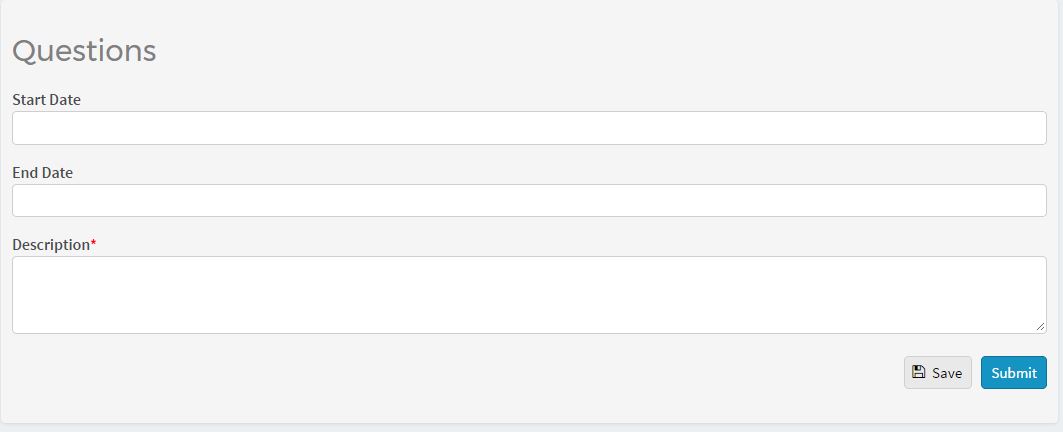
We will be working with this simple test item:
For the first example, we will review setting a default date of 10 days from now into the start date. The steps for this are:
- In the builder, select the page of the question you wish to default. It will have an events section (currently empty/collapsed).

- Click on the Events section to open it, then click on “Add Event”

- Fill out the details of the event to set the desired field.

Type: Pages have two kinds of events: Load and Submit. In this case, we want Load because we want this to run when the page comes up, not when the person submits it.
Name: You can name the event whatever you wish.
Action: Because we want to use javascript, we want to use “Custom” action.
Run-If Condition: The event will only run if this condition evaluates to true. In this case, we only want to set the default into the field if it is empty/null. If someone has already filled it in (and perhaps saved the event and is coming back to it), we wouldn’t want to run the event.
Bridged Resource: This is used only if you are using bridge data for your event, and in this case we are not, so we say “None”.
Code: Because we specified “Custom” in action, we get a code block to specify our code within. The code within this block in this case is:
K('field[Start Date]').value(moment().add(10, 'days').format('YYYY-MM-DD'));This is equivalent to:
//get current date as a moment
var currentMoment = moment();
//calculate 10 days from now
var desiredMoment = currentMoment.add(10, 'days');
//format desired moment
var formattedMoment = desiredMoment.format('YYYY-MM-DD');
//set start date field
K('field[Start Date]').value(formattedMoment);
But as specified here Moment.js supports method chaining, so the lengthy format can be collapsed for brevity.
For the second example, we will make sure that the Start Date is before the End Date. This will also use the Moment.js library. The steps are:
- Click on the field you want to add validation to, Start Date in this case, so that it’s options appear on the right (including validation).

- Then click on validation to expose the validation options. In this case, we are interested in the custom constraint. The Required option is to make the field required or not and the pattern is to see if it meets a certain string pattern (not generally useful for dates/times). We want to use a javascript to see if the field data meets a certain true/false criteria, so we leverage the Custom Constraint option.

- The next step is to click Enabled for the Custom Constraint. This will expose the two fields that control the action–the Expression (to be evaluated) and the Message to be displayed if the test fails.

- Fill in the Expression and Message. The expression should be a javascript that will evaluate to true or false.
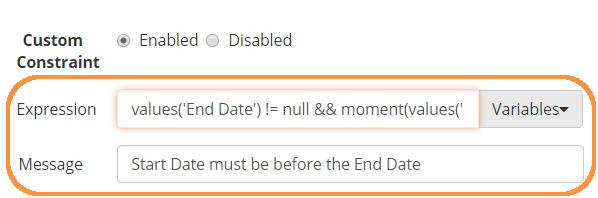
In this case, the expression is:
values('End Date') != null && moment(values('Start Date')).isBefore(moment(values('End Date')))This says that the End Date must have a value, and that the moment represented by the start date is before the moment represented by the end date. In this case, we cannot assign variables and expand it out because we only have one line to work with. To fill in the values from the form, kapp, and space, the variables menu attached to the expression field can be used.

Once the constraint is in place and saved, the results would look like this when submission is attempted that does not meet the constraint:

Updated 8 months ago