Form Creation
Form Creation# Introduction
This article walks through Form creation and other Form related information.
Goals
The goals for the article are:
- Learn how to create a new form, especially with cloning
- Understand the basic properties of a Form
- Introduction to the Form Builder
Form Creation
There are three ways to create Forms, Cloning an existing Form, importing, or creating from scratch. Cloning is the most common method for creating Forms. Most organizations have a template that is cloned to save time with common elements or functionality. Importing is also common when moving a Form from one environment to another. Creating from scratch is normally used when there is not a template or other similar Form to copy from.
Cloning
Cloning is the quickest and easiest way to create a new Form, even a potentially complex Form like Onboarding. You gain the advantage of copying all the existing functionality and fields of an existing Form, and just need to change or add the parts you want. Many customers use a template with all the basic fields and functionality in place and all new Forms are cloned from that basic template.
To clone a Form, select the Cloning option from the Form List:

You can also select from the Actions Menu for a Form:

We'll spend more time in these consoles later in this article.
After you select Clone, you need to enter a new name:
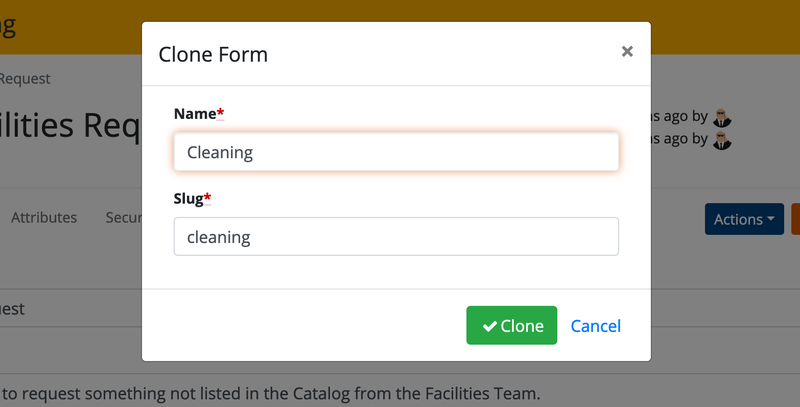
The Slug is created automatically (but you can change it as needed).
Next, the Form opens on the General tabs:

From here you can customize any of the properties of the new Form.
Create from New
The option to create a new Form from scratch is on the top right of the list of Forms. Clicking this button brings you to the following dialog:

Here's a short description of the fields:
- Name - displayed name of the form
- Slug - unique Id of the Form and also used in the URL to display the Form. It is created automatically from the name, but can be changed.
- Description - (Optional) Often used to describe the Form and displayed with the form on a portal
- Status - Defaults to New and has the following options. Active, Inactive, and Delete.
- Type - (Optional) Used to define the function of the Form, and can be used by the portal for display purposes
Import
Importing is normally used to move Forms from one environment to another. It's used to restore or overwrite existing Forms if changes are not acceptable. Forms are always exported and imported as a JSON document.
To import a Form, click the Import Form button on the top right of the Form list console. Then, either drag or paste your exported Forms JSON document into this field.
Exporting
You export a Form by selecting the option in the same place as Cloning. A dialog similar to importing appears and you have the option to download.
General Tabs
Each Form has a selection of General tabs for setting Attributes and other features of a Form. Most of these are explored in other parts of the Manager Training articles, but here is a list with each tabs primary function:
- General - Basic information including Name, Slug, Status, and Description. Submission Label is set here. You can Delete a Form from this tab (Actions Menu).
- Categories - Set the category(s) the Form is related to
- Attributes - Set the attribute values for the Form
- Security - Determine the Security Policies for the Form
- Submissions - list of Submissions for the specific Form
Form Builder Basics
Access to the Form Builder is provided in two different ways, from the same menu as Cloning on the Form list or clicking the button on the General Tab.
When you enter the Builder, it looks like this:

The Builder is divided into four sections:
- Top - Contains the name of the Form and the Action and Save buttons. There is also a link for In-App Help, and an indicator of the last time the form was saved.
- Left Column - All of the Elements you can add to a Form (Pages, Questions, etc)
- Center Column - All of the elements that are currently part of the form
- Right Column - Details of the currently selected element
In the Next Article
In the next article, we'll practice adding elements to a Form.
Updated 8 months ago