Building Your First Workflow
Build Your First Workflow
With your onboarding form collecting data and dynamically pulling in Teams, you're now ready to build your first workflow.
This workflow will:
- Trigger when someone submits the onboarding form
- Use the selected Department to look up the assigned Manager
- Automatically create a new Approval Form assigned to that Manager
This is where Kinetic’s power shines, by letting you create flexible, logic-driven automations without writing any code.
Before You Begin: Create the Approval Form
Before we start building the workflow, you’ll need a second form, an Approval Form, that will be populated and routed to a Manager.
This form will be filled out not by the employee, but by the assigned approver (like the department manager) after the onboarding request is submitted.
Activity: Build the Approval Form
Try creating this form on your own using what you've learned so far. Use the Onboarding Kapp and add the following fields:
Basic Info (non-editable):
- Name (Text)
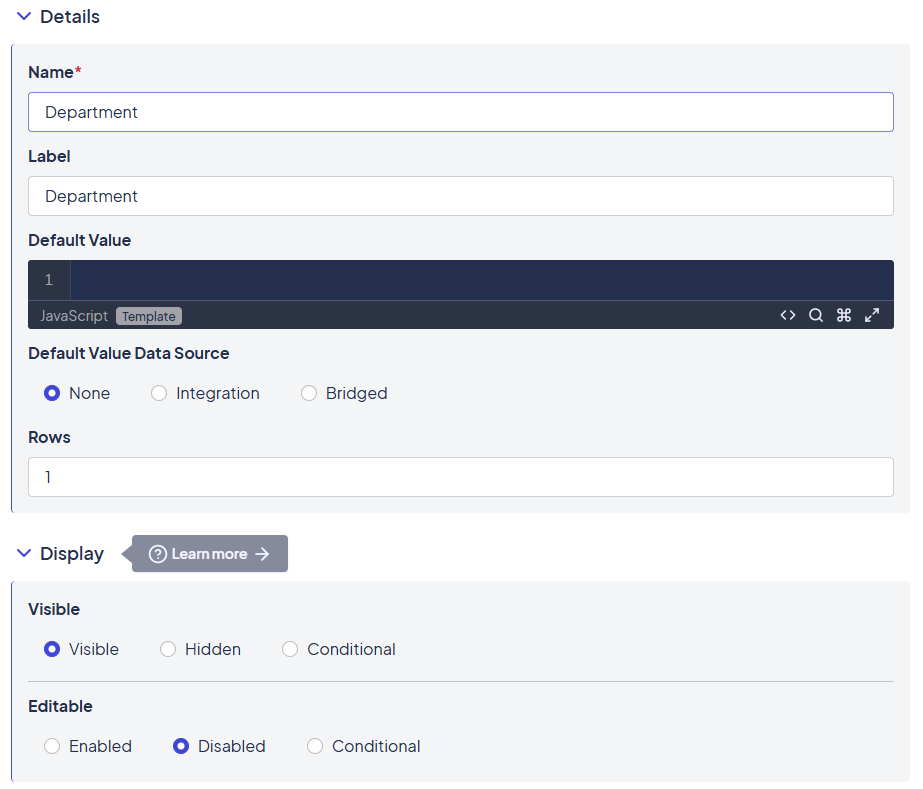
- Department (Text)
- Systems Required (Checkbox)
These fields will be filled in automatically from the Onboarding form and should be not editable by the approver.
See An Example
Manager Decision:
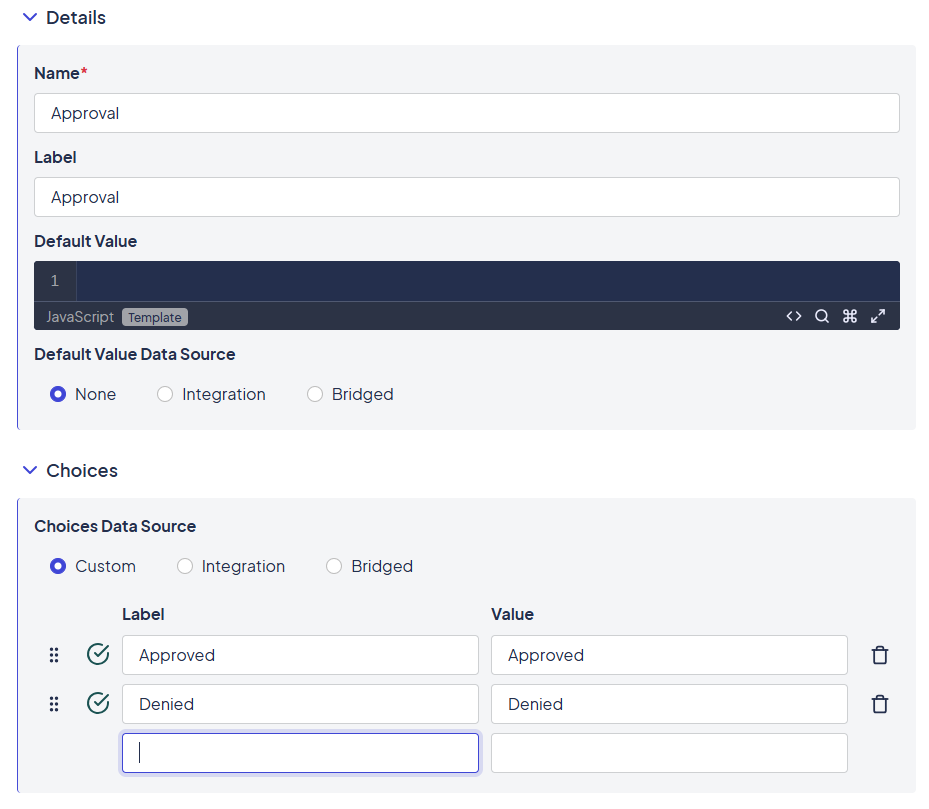
- Approval (Radio)
- Options:
Approved,Denied - Set to Required
- Options:
See An Example
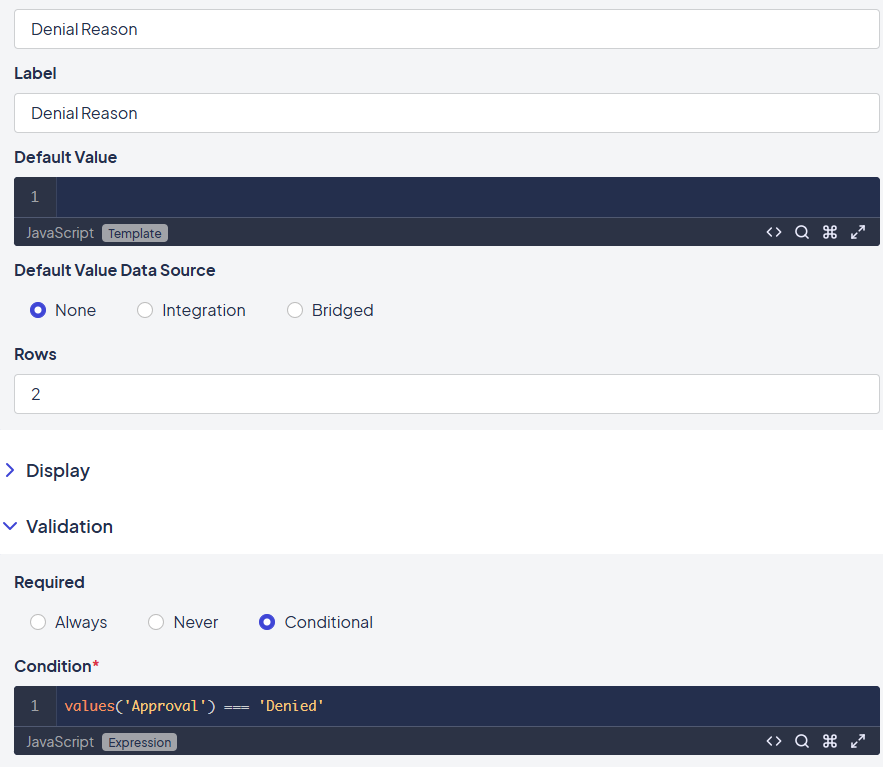
- Denial Reason (Text)
- Set to Conditional
- Only show if
Approval = Denied - Also set Validation to conditional
See An Example
Hidden Metadata:
- Assigned Individual (Text)
- Parent Submission ID (Text)
- ServiceNow Incident ID (Text)
You’ll reference all of these fields in the workflow you build next, so make sure your form is created and active before continuing.
Once your Approval Form is ready, move on to building the workflow that brings it all to life.
What is a Workflow?
A workflow is a visual process made up of connected steps (called nodes) that are triggered by events, like a form submission or approval.
Each workflow:
- Starts with an event (e.g. form submission)
- Can include logic, integrations, form submissions, email notifications, and more
- Can be tied to a specific form and runs in response to user activity
Step 1: Create a Submitted Workflow
- From the Space Console, go to:
Kapps > Onboarding > Forms - Click on Onboarding Request Form
- In the left-hand menu, click Workflow
- Click + New Workflow
- Enter the following:
- Name:
Submitted - Event:
Submission Submitted
(This ensures the workflow runs right after someone fills out the form)
- Name:
- Click Create
You’ll now see a visual workflow builder with a Start node in place.
Step 2: Fetch the Selected Team
We’ll now look up the full Team details (including attributes like the Manager email) based on the selected department.
-
Click the + icon next to the Start node
-
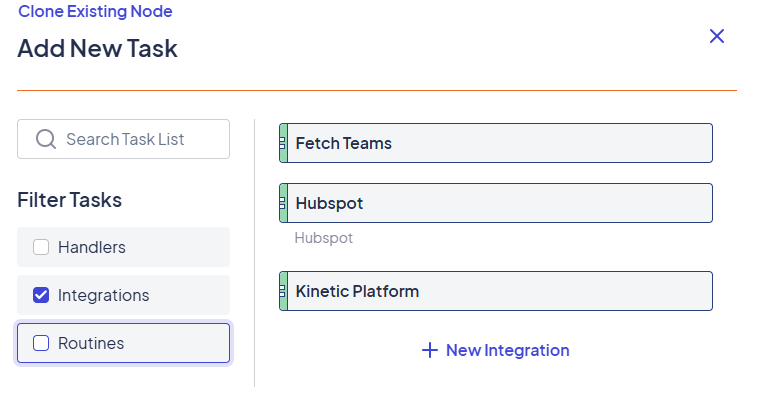
Select the Integration option on the side
-
Use the
Fetch TeamsConnection
See An Example
- + Add New Operation
- Name:
Fetch Team - Method:
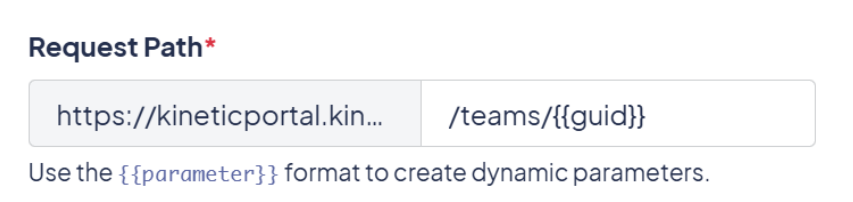
GET - Request Path:
/teams/{{guid}}
See An Example
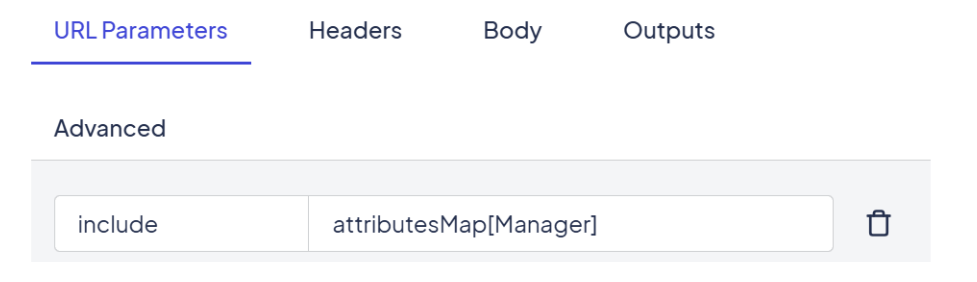
- URL Parameters:
- Key:
include - Value:
attributesMap[Manager]
- Key:
See An Example
- Outputs:
- Key:
Department- Value:
body.team.name.split(‘::’)[1]This tells the operation you want the name of the Department after the::, and it is the second name. If you left it as [0], it would have pulled Department, not the name we are looking for.
- Value:
- Key:
Manager- Value:
body.team.attributesMap.Manager[0]In this case, we only want the first manager option.
- Value:
- Key:
See An Example

- Click Save Operation
- Back in the node settings:
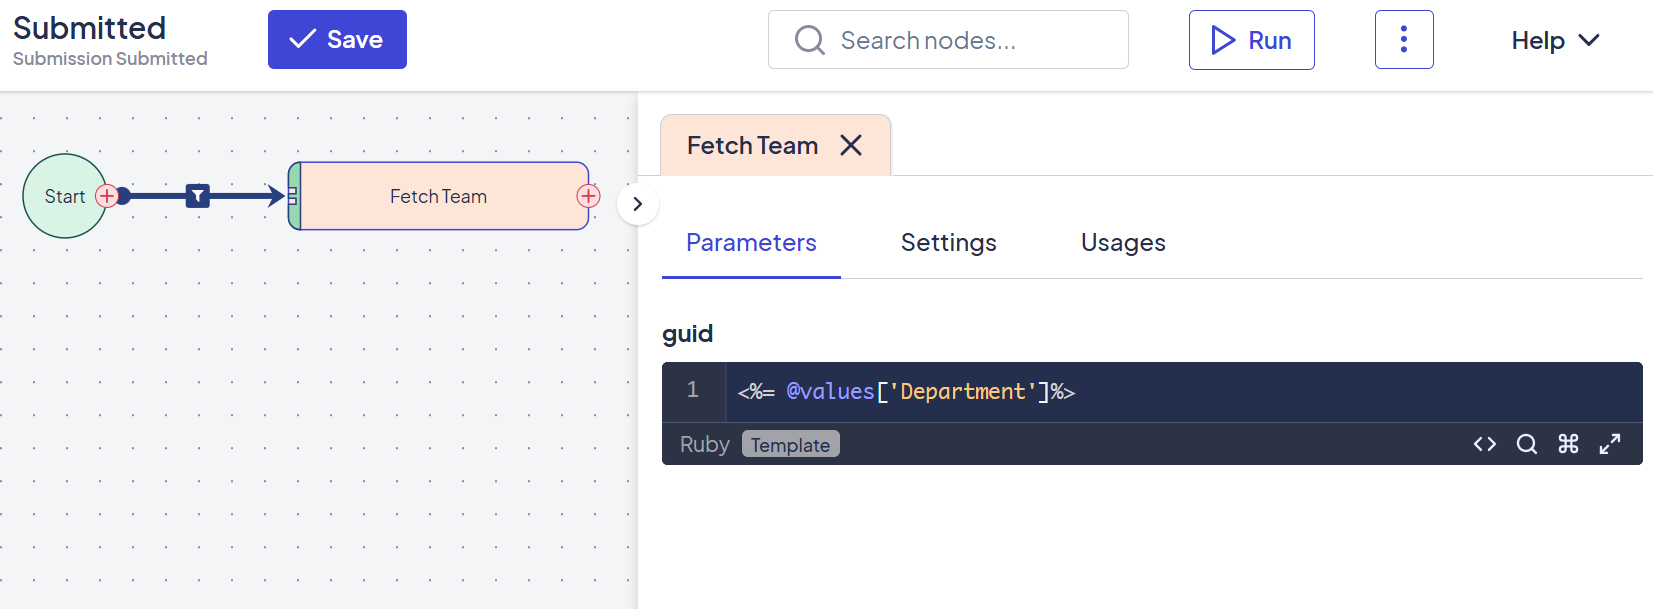
- Name the node:
Fetch Team - Parameter:
guid
Use this expression to pull the value from the form:<%= @values['Department'] %>
- Name the node:
Click Save Node
See An Example
Step 3: Create the Approval Form Submission
We’ll now populate the Approval Form with data from the onboarding form and assign it to the selected Manager.
-
Click the + icon next to
Fetch Team -
Select the Create Submission node type
-
Fill in:
- Kapp:
Onboarding - Form:
Approval - Node Name:
Create Approval
- Kapp:
-
Scroll through the parameters and map fields:
| Approval Field | Expression |
|---|---|
| Name | <%= @values['First Name'] + ' ' + @values['Last Name'] %> |
| Department | <%= @values['Department'] %> |
| Assigned Individual | <%= @results['Fetch Team']['Manager'] %> |
| Parent Submission ID | <%= @submission['Id' %> |
Click Save Node
Step 4: Save and Test Your Workflow
- Click Save Workflow
- Go back to your Onboarding Request Form
- Click Preview and submit a test request
- Navigate to the Approval Form > Submissions
- You should see a new approval pre-filled with the correct data and assigned to the right Manager
Getting an error message?You might have a syntax issue. Many errors during training are due to copy/paste problems that miss key characters.
Don't just copy and paste the code snippets.
Typing them out yourself helps ensure proper formatting and gives you a better understanding of the syntax.
What’s Next?
In the upcoming section, you’ll:
- Extend this workflow to integrate with external systems like ServiceNow
- Send email notifications to managers
- Track and update the request’s status based on the approval outcome
You’ve now built a fully functional approval routing workflow tied directly to your form — all without any hardcoded logic.
Recap
In this section, you:
- Created a workflow that runs when a form is submitted
- Looked up the selected Team and retrieved its Manager
- Created and assigned an Approval Form dynamically
This is the foundation of many Kinetic workflows. Data comes in, logic happens, and actions are taken automatically.
Expand Your Knowledge
Next up: Integrate with External Systems — learn how to send data to tools like ServiceNow, create tickets, and keep everything in sync.
Updated 8 months ago