Using Handlers
Extending workflows with pro-code
Overview
Handlers are the components that execute portions of code. Workflow builders can use them to build whatever processes they wish. The Handlers Overview provides further details about handler structures.
Pre-Installed Handlers
These handlers come as system utilities:
- Join
- Junction
- Echo
- Loop Head
- Loop Tail
- Create Trigger
- Defer
- No Operation
- Wait
Loading and Configuring a Handler
You can create custom handlers by modifying an existing handler or loading a handler into the system and configuring it. To load a handler, follow these steps:
- From the Space console, select Plugins.
- Click Import Handler.
- Do one of the following:
- Drag and drop the handler .ZIP file into the Handler Import modal or click Browse to search for and select it.
- If the handler has a URL address, click by URL and paste the URL into the Handler URL box.
- Click Import
- Add the following details:
- Where that handler will connect, which user it connects to, and so on.
- The Task Builder category the handler should be listed in.
Note: Configuration details will vary by handler due to system differences. For example, the connection info required by a Remedy ARS system is very different than that required by an Amazon EC2 system.
Configuration needs to be done in each environment. You will likely want your development, test, or production environments to connect to different environment systems for data and workflows.
Using Handlers
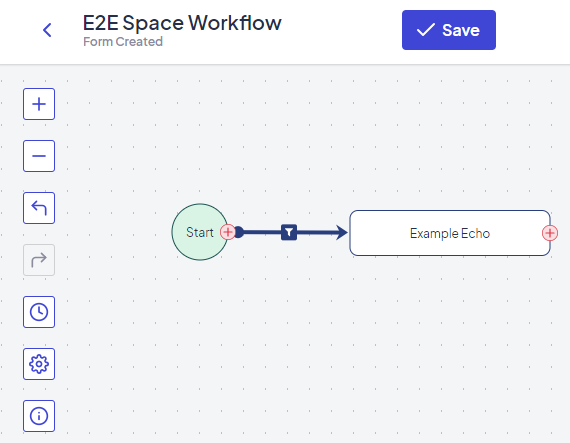
Once the handler is configured, it can be used in any number of trees and routines. Complete the following steps to add a handler to a workflow or routine:
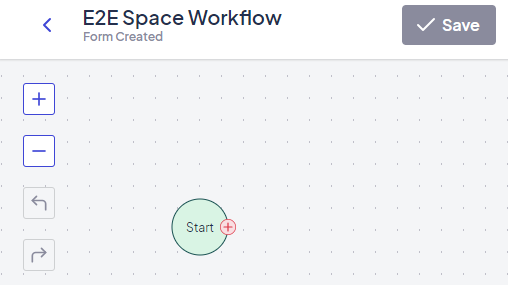
- Click the plus sign at the bottom of the node where you want to add a handler or routine.
- Select a handler from the list.
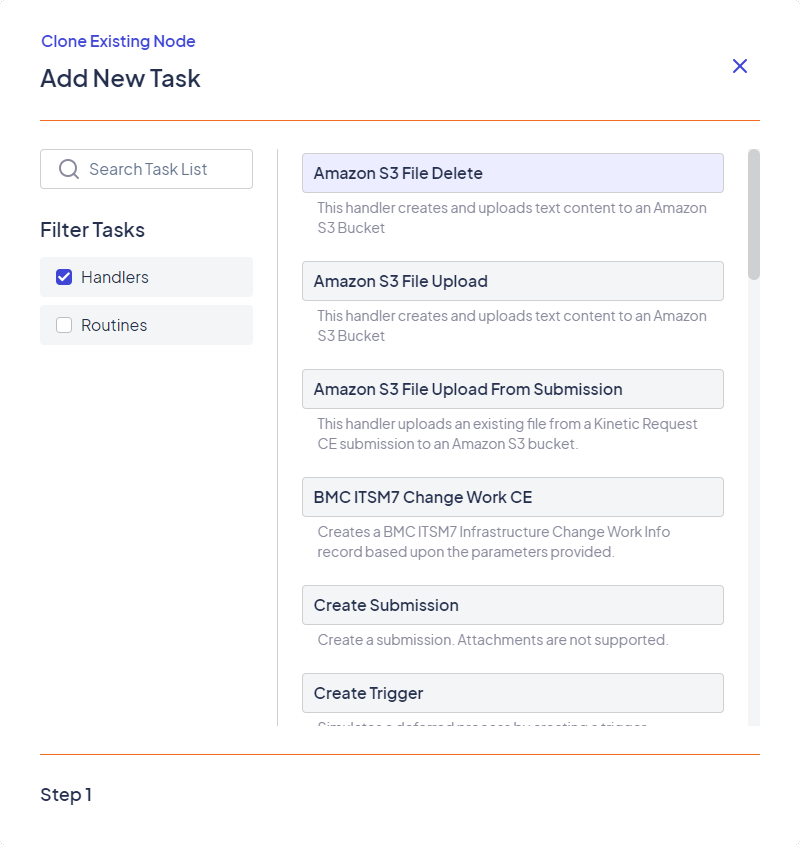
- Enter the details for the handler and click Finish The handler is then displayed in the workflow tree.
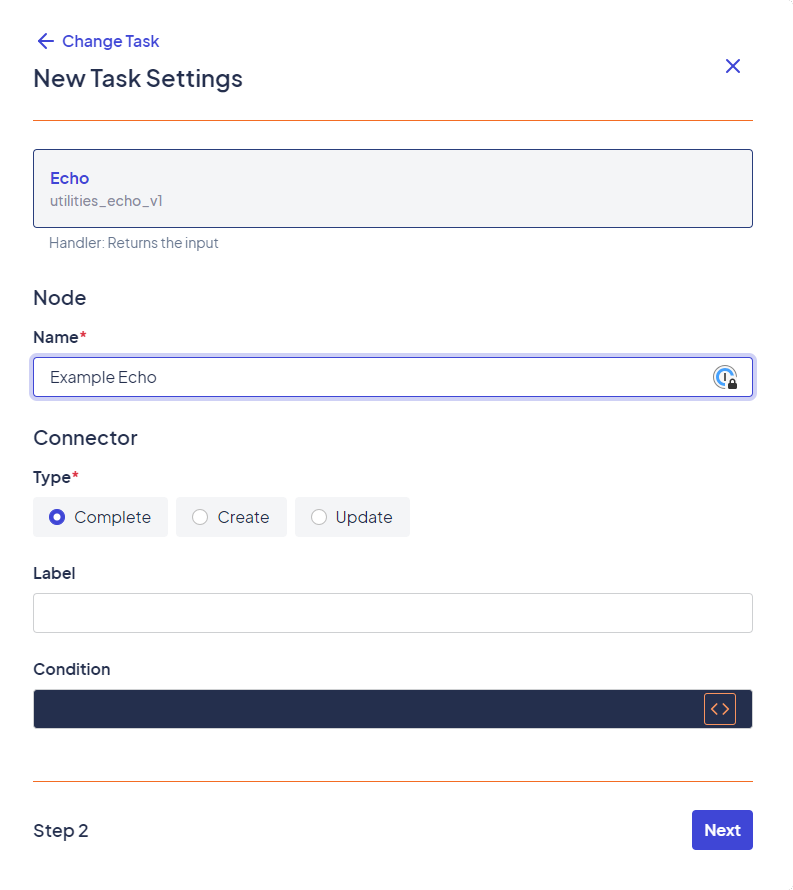

Parameters
Each handler will create nodes with different parameters because the parameters are the inputs needed by the code run by that handler. Text, items from the preconfigured values list, and Ruby code can be used in parameters with open text elements. If the handler has a list, you must manually select an option from the list, which cannot change in different workflow runs. This is one reason you will not see many lists in handlers.
Updated 8 months ago