Creating Users
Creating and Managing Users
Most users are provisioned automatically through SSO or integrations. However, you can manually create users, ideal for platform admins, testers, or small-scale deployments. You can also edit and manage user records as needed directly from the Console.
Creating a User Manually
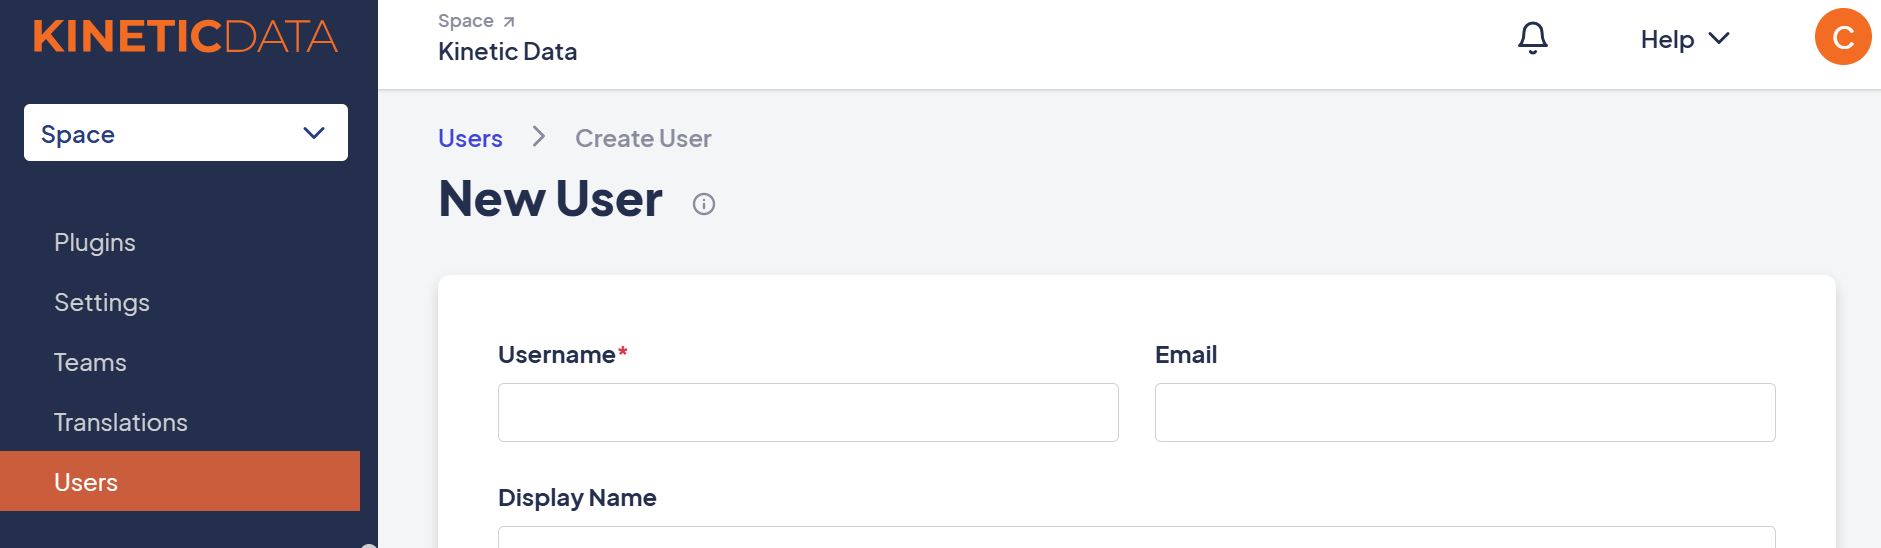
- Navigate to Configuration > Users
- Click + New User
- Fill out the required fields (see below)
- (Optional) Assign teams and attributes
- Click Create User
User Properties
Each user record contains the following properties:
-
Username:
A unique identifier for the user. Often matches the login or SSO ID. Required. -
Email Address:
Used for platform notifications like password resets and workflow alerts. -
Display Name:
A human-readable name shown throughout the UI—for example, in approval assignments or submission logs. -
Enabled:
Controls whether the user can authenticate and access the platform. -
Space Admin:
Grants full administrative access across the Space. Space Admins bypass security definitions and gain access to all forms, submissions, and configuration tools. -
Allowed IP Addresses:
Optional security restriction. Enter a comma-separated list of IPs the user is allowed to log in from.
→ Use*to allow access from any IP address (default). -
Preferred Locale:
Sets the user’s language and regional format. If not specified, the user inherits the Space’s default locale.
Editing Users
To update a user:
- Navigate to Configuration > Users. Select a user from the list
- Edit their name, email, team membership, or attributes
- Click Update User
In SSO-enabled environments, profile details may be overwritten on next login unless explicitly mapped or excluded from sync.
Deleting Users
You can delete users, but be cautious:
- Make sure the user is not actively assigned in workflows
- Deletion is permanent and should be avoided for audit-critical users
Best practice: Disable the user instead of deleting if you're unsure of downstream impact.
Next Step
Now that you’ve created your users, learn how to enhance their profiles using User Attributes.
Updated 8 months ago