How to Manipulate Date and Date/Time Fields on a Form
Most Kinetic Data bundles use the Moment.js JavaScript library for date manipulation. Before using this guide, please verify that Moment is included in your bundle.
We will be working with this simple test item:
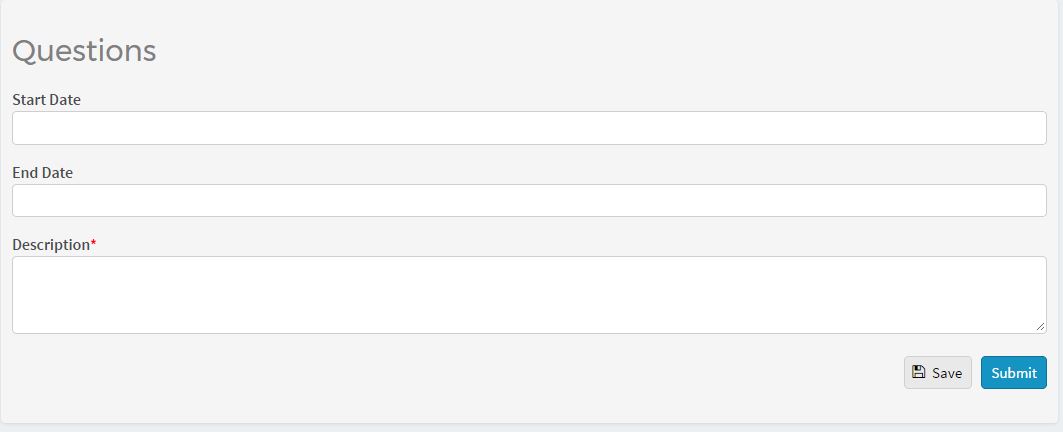
We will set date restrictions for the Start Date and End Date elements.
For the first example, we will review setting a default date of 10 days from now into the start date. The steps for this are:
- In the Form Builder, select the page of the question you want to default, then expand the Events section and click Add Event.
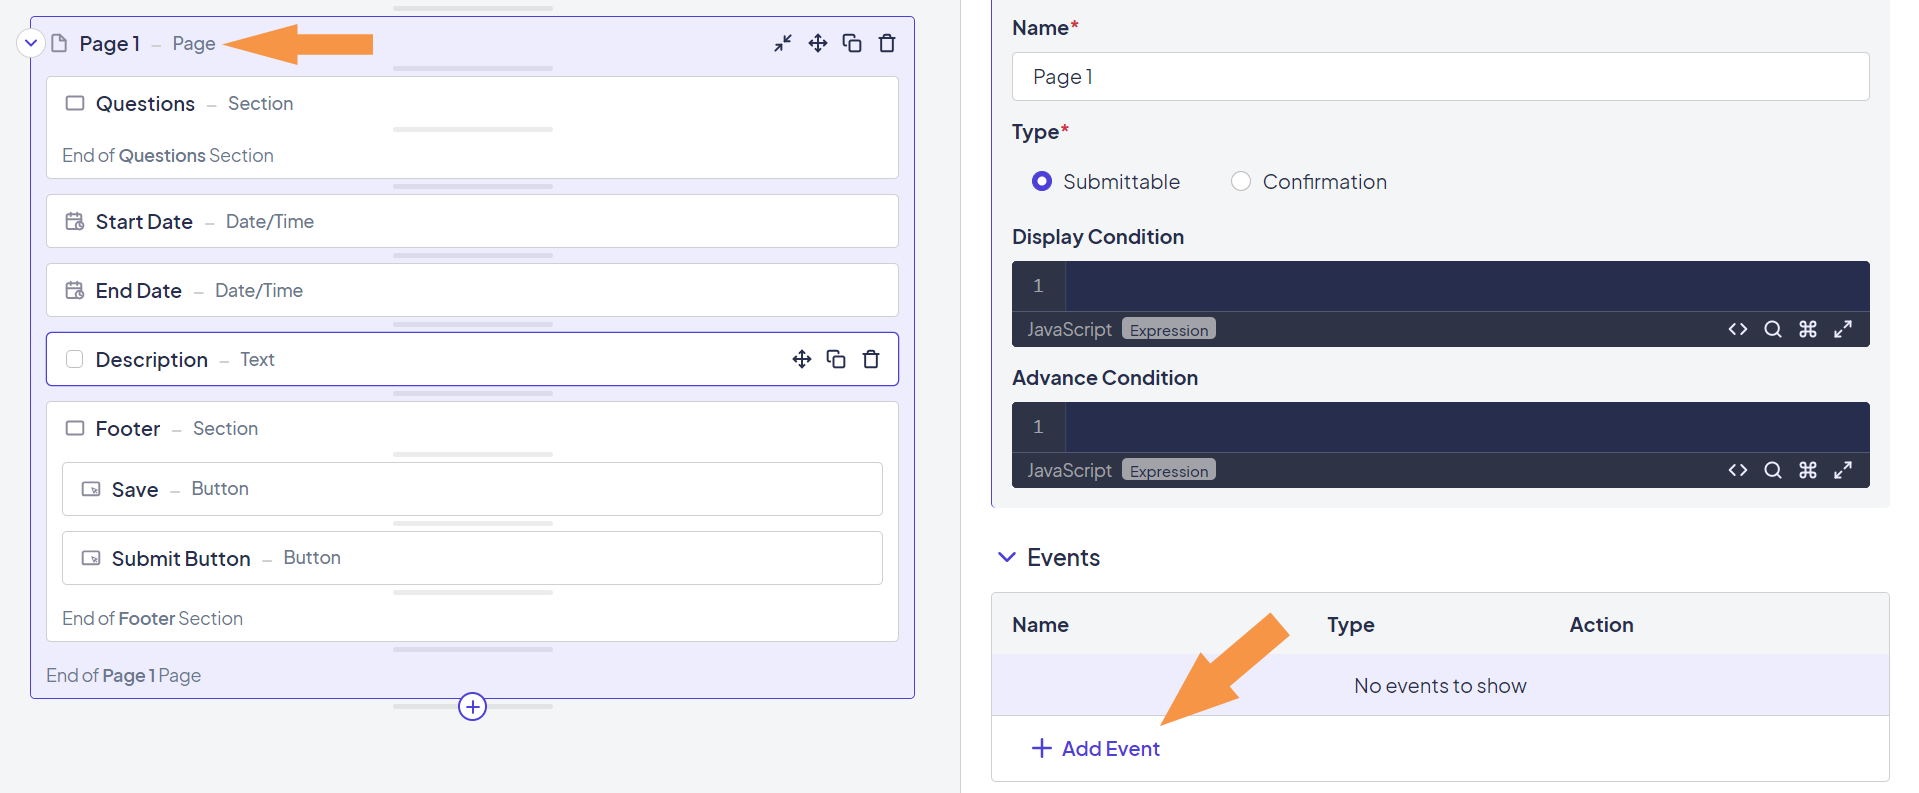
Add an event at the page level where you want to manipulate the date.
-
Enter the following event details:
-
Name: You can use any name. In this example, we used "Set Default".
-
Type: Select Load to trigger the event to run when the page comes up, not when the form is submitted.
-
Action: Select Custom, as this event requires JavaScript.
-
Run-If Condition: Enter the following code:
values('Start Date') == "" ||values('Start Date') == null. This indicates that the event should only run if the condition is evaluated to be true, preventing it from running if the date has already been entered (for example, when a user has saved the event and is coming back to it). -
Bridged Resource: Leave this blank, as this event doesn't use bridge data.
-
Code: Enter the following code:
K('field[Start Date]').value(moment().add(10, 'days').format('YYYY-MM-DD'));
This is equivalent to the code below, but because Moment.js supports method chaining, the lengthy format can be collapsed for brevity.``` //get current date as a moment var currentMoment = moment(); //calculate 10 days from now var desiredMoment = currentMoment.add(10, 'days'); //format desired moment var formattedMoment = desiredMoment.format('YYYY-MM-DD'); //set start date field K('field[Start Date]').value(formattedMoment); ```
-
As a second example, the steps below will ensure the Start Date is before the End Date. This also uses the Moment.js library.
- Click Start Date to display the options for the date field in the right panel.
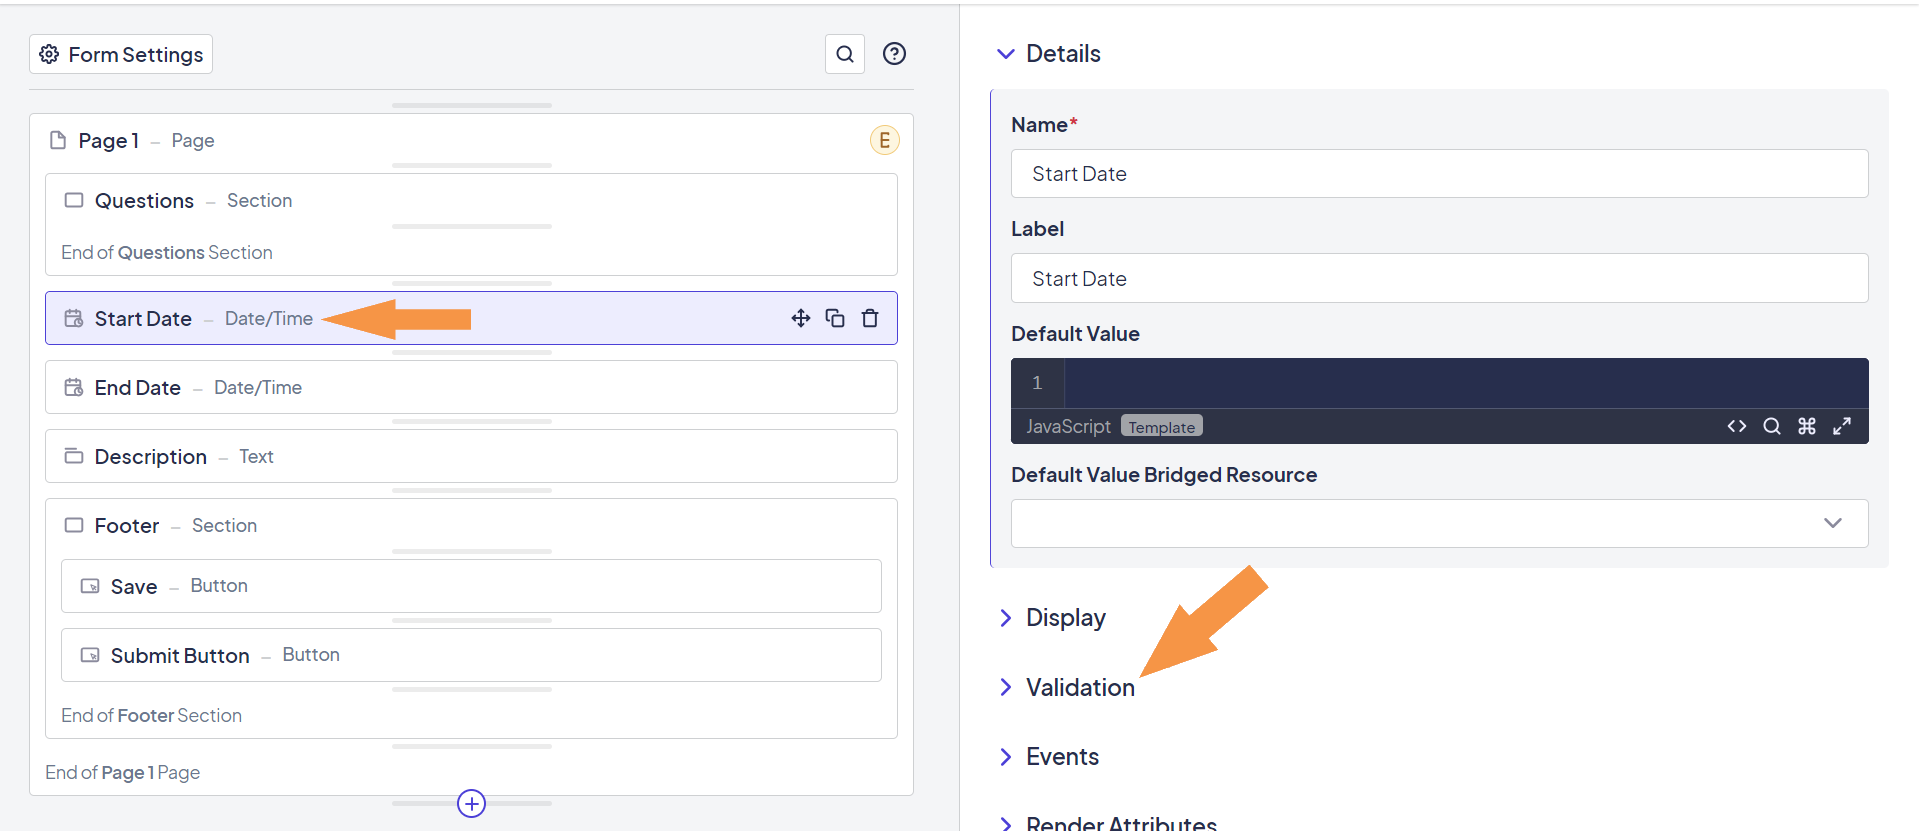
Enter a validation expression to require an End Date later than the Start Date.
- Expand the Validation section and select Enabled for the Custom Constraint option. This will expose the Expression to be evaluated and the message to display if the test fails.
- Enter the following expression:
values('End Date') != null && moment(values('Start Date')).isBefore(moment(values('End Date'))). This expression indicates that the End Date element must have a value and that the moment represented by the Start Date element is before the moment represented by the End Date element.
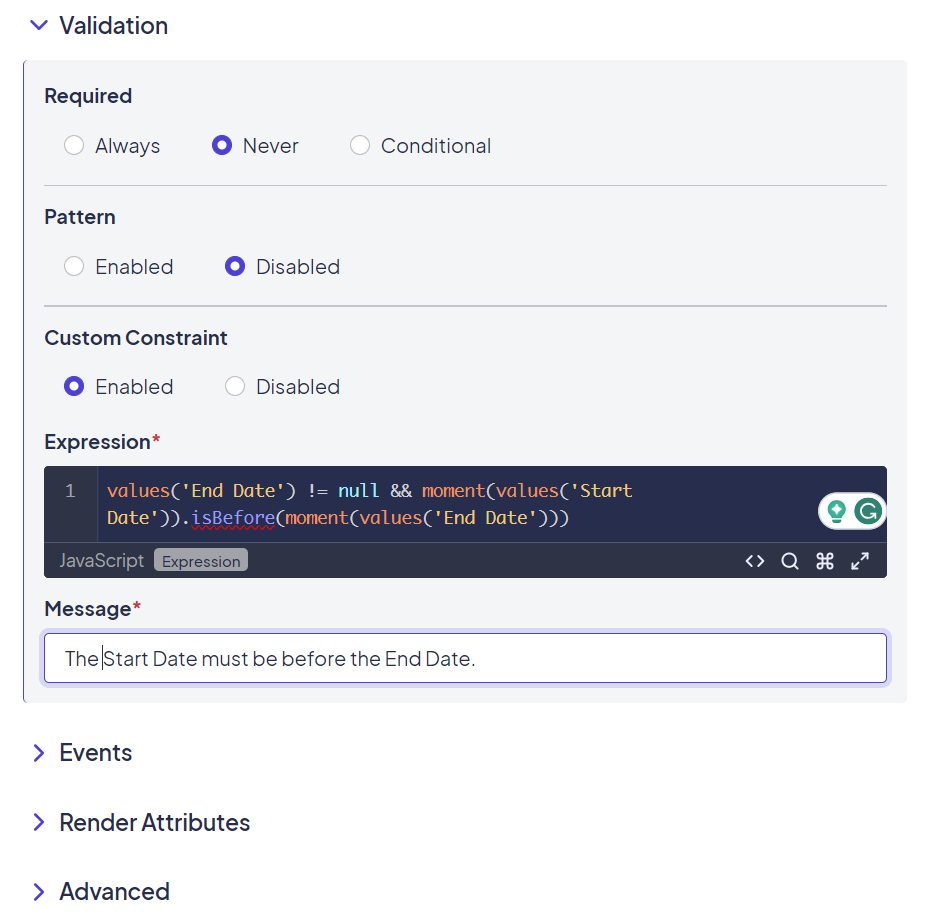
The finished Validation changes should look like this.
Once the validation is saved, a submission that does not meet the constraint would look like this:
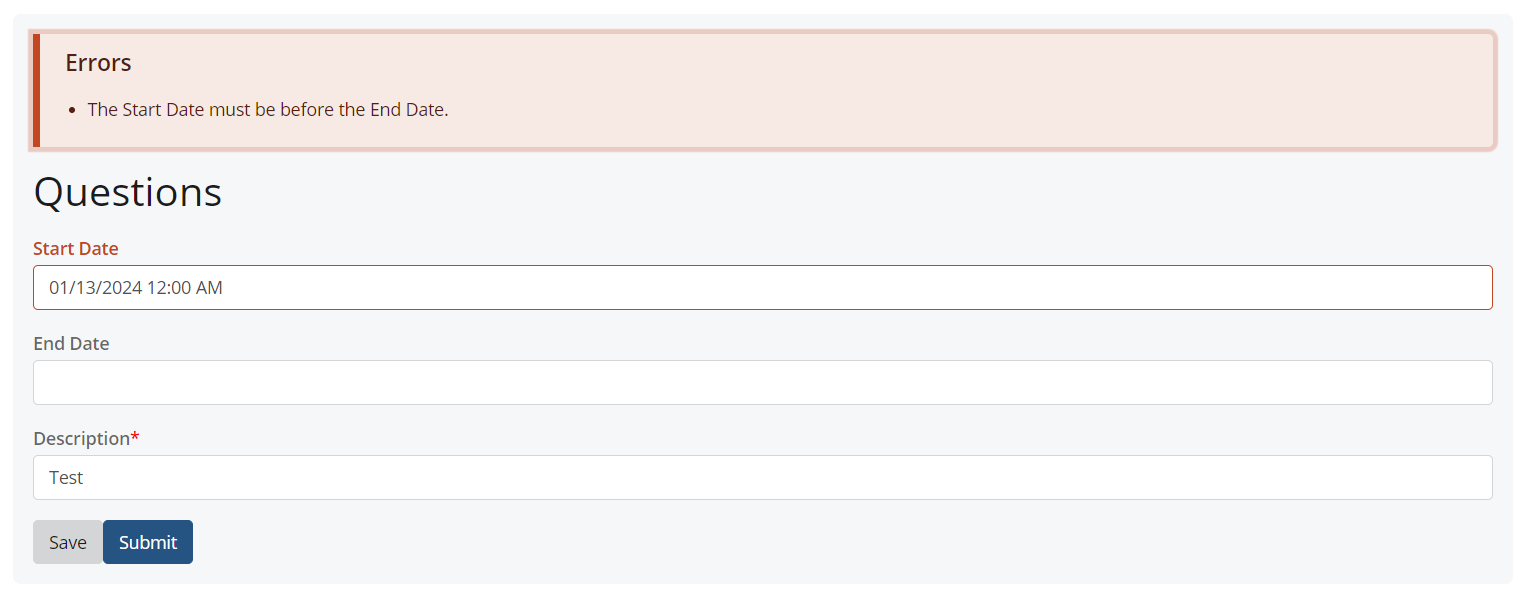
The end result of the validation expression.
Updated 8 months ago