How to Configure SAML SSO Authentication for a Customer-Managed Environment
Overview
This guide outlines configuring single sign-on (SSO) authentication using a Security Assertion Markup Language (SAML) for a customer-managed installation.
For assistance with configuring SAML SSO support in the kinops hosted platform, see How to Configure SAML SSO Authentication for a Hosted Environment.
Prerequisites
Before starting the configuration process, open your desired terminal emulator, access the command line interface (CLI), and run the command below that corresponds to your package manager. This is required to parse the JSON used during the installation process.
sudo yum install jqsudo apt-get update
sudo apt-get install jqsudo dnf install jqAdditionally, ensure you can access a code editor to create script files. The instructions in this document use the vim editor, but you can use any editor you like.
Workstation Setup
From the workstation communicating with the Kubernetes cluster, follow these steps to create the necessary working directories and back up the current state of your SAML configuration.
IMPORTANT: The scripts used in this process write to to
~/[Home Directory]by default. To change the location, replace ~/ with the desired location (for example,/opt/) in each script.
-
From your CLI, navigate to a path where you have permission to create and run the scripts necessary to configure SSO using SAML.
-
Run the following commands to create the script files:
touch init_backup.sh chmod +x init_backup.sh vi init_backup.sh -
Open the
init.shscript in your code editor and paste the following content into the file:#!/bin/bash set -e # Create working directories echo "" echo "Creating Working Directory to unpack SSO config template. Note: This directory will be cleaned up after the task runs..." echo "" echo "Working DIR 1 Location: ~/working-directory" mkdir -p ~/working-directory echo "" echo "Working DIR 2 Location: ~/existing-customization-data" mkdir ~/existing-customization-data # Create backup of current Core echo "" echo "Creating a backup of existing authentication configuration data..." kubectl get secret -n kinetic \ core-customization-secrets \ -o yaml \ > ~/existing-customization-data/core-customization-secrets.backup echo "Backup Completed" -
Run the
init.shscript using the following command:./init_backup.sh -
Return to the working directory using the
cdcommand.cd ~/working-directory
Retrieving the Helm Chart
Follow these steps to download the helm chart required for the configuration process:
kinetic-core-customizations-job            kinetic-platform-application
kinetic-core-customizations-job-5.0.0.tgz-
Navigate to your Installer Dashboard.
-
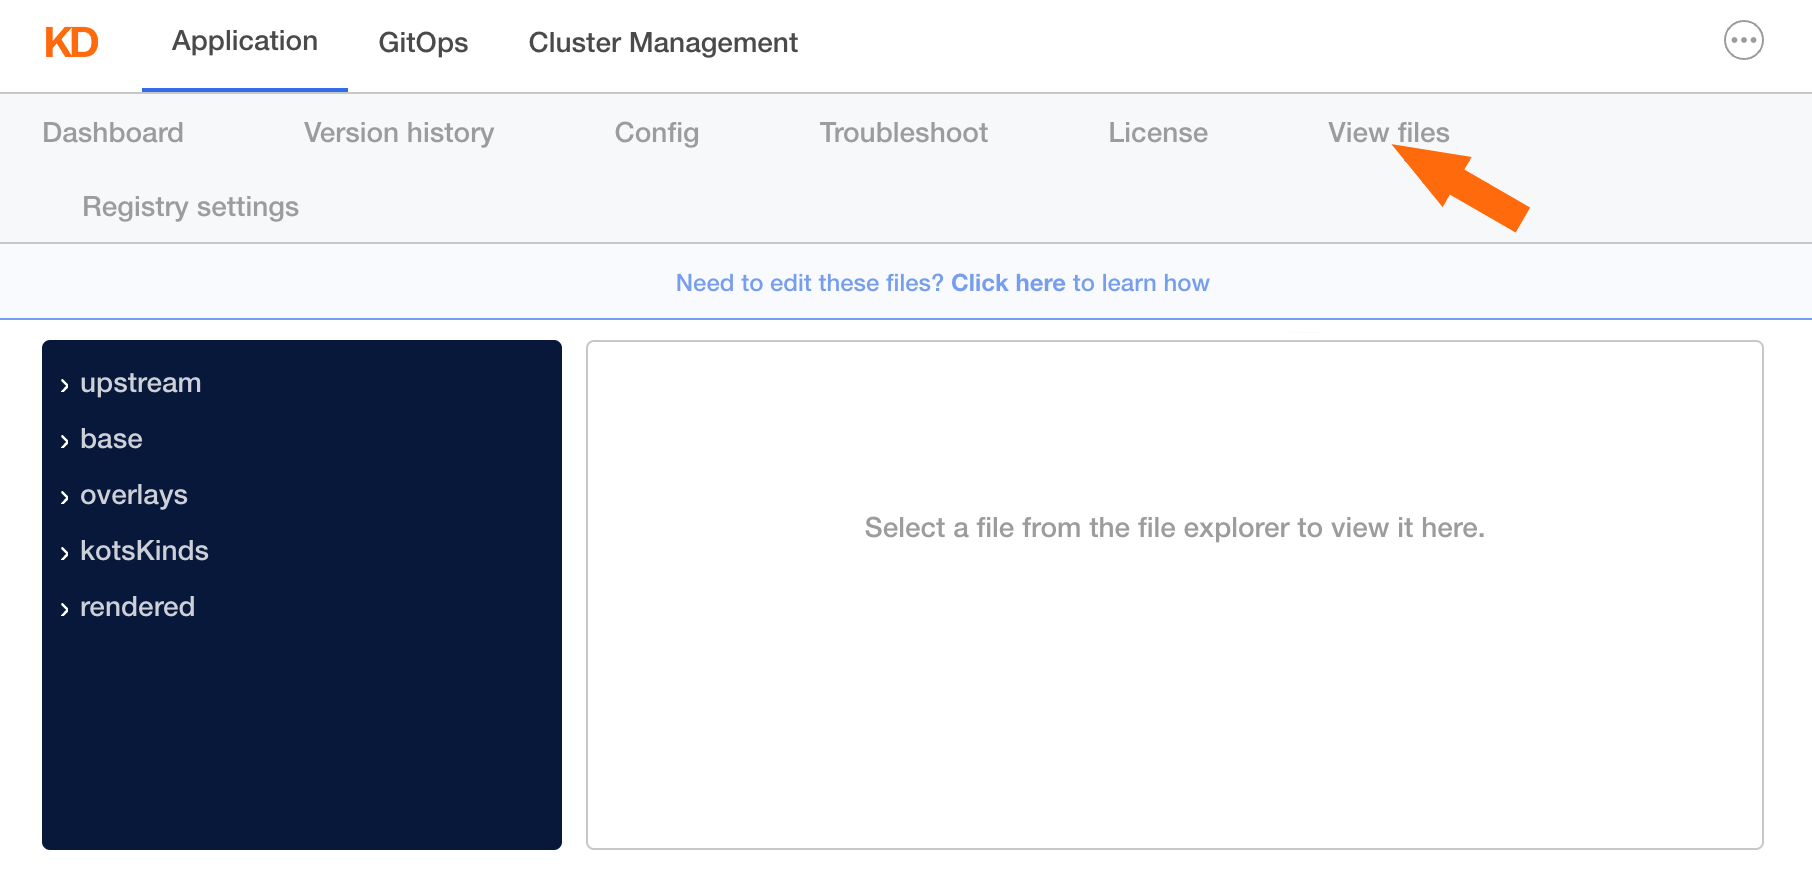
From the Application tab, select View Files.
-
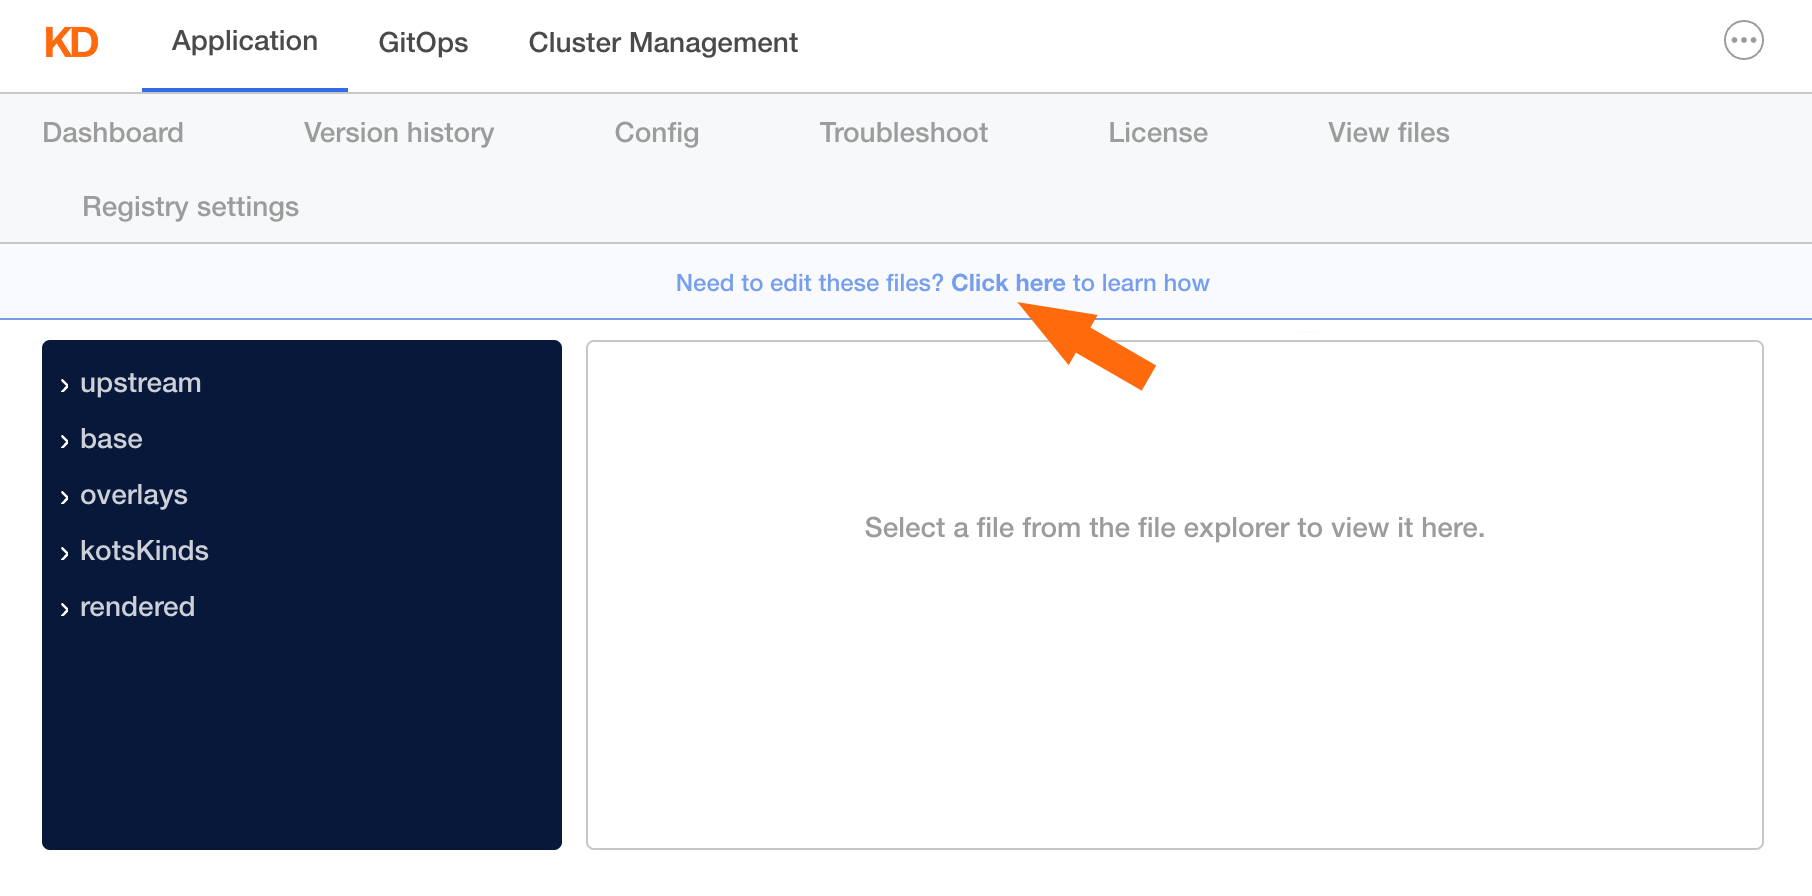
Click Need to edit these files? Click here to learn how.
-
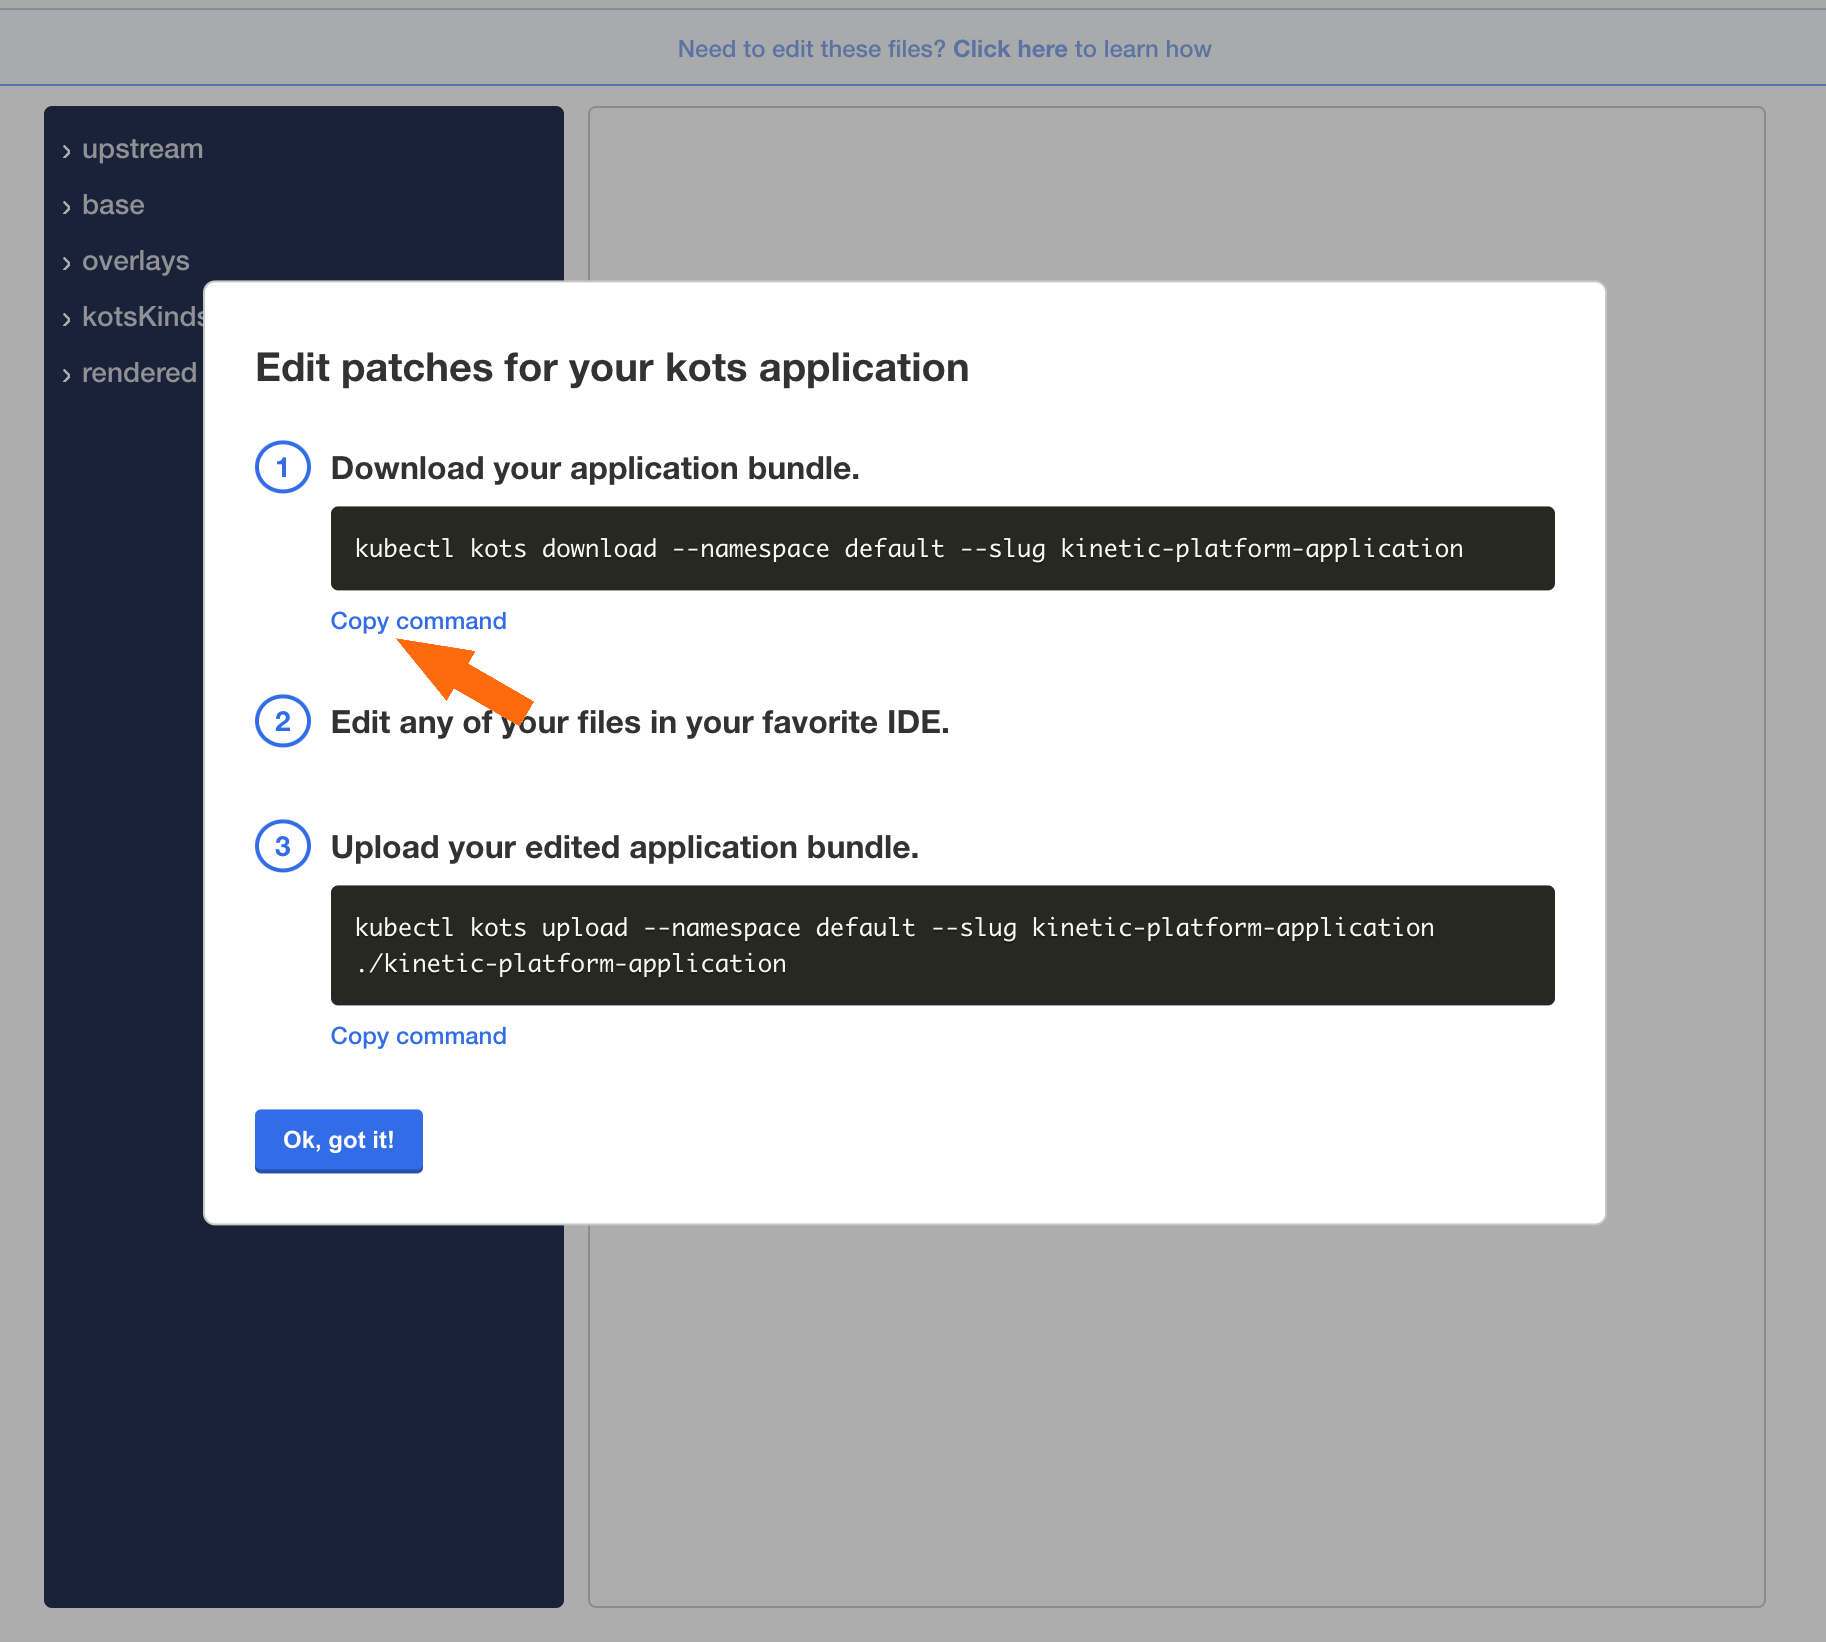
Click Copy command under Step 1, then paste the command into your CLI and run it.
-
Run the
lscommand to see the kinetic-platform directorylsYou should receive the response below. If you do not, contact Kinetic Support.
kinetic-platform-application -
Run the
cdcommand to navigate to the core-customizations folder:cd ~/working-directory/kinetic-platform-application/upstream -
Run the
lscommand to find the "kinetic-core-customizations-job-5.0.0.tgz" .tar file.ls -
Copy the .tar file to your working directory.
cp kinetic-core-customizations-job-5.0.0.tgz ~/working-directory -
Run the following commands to relocate to the working directory and untar the file:
cd ~/working-directory && tar xvf kinetic-core-customizations-job-5.0.0.tgz -
Run the
lscommand to confirm the kinetic-core-customizations-job folder was created.lsYou should receive the response below. If you do not, contact Kinetic Support.
kinetic-core-customizations-job kinetic-platform-application kinetic-core-customizations-job-5.0.0.tgz -
Run the following command to move the "core-customizations" folder to your working directory.
cp -R ~/working-directory/kinetic-core-customizations-job/files/core-customizations ~/working-directory -
Run the
lscommand to confirm the kinetic-core-customizations-job folder was moved correctly.lsYou should receive the response below. If you do not, contact Kinetic Support.
core-customizations kinetic-core-customizations-job-5.0.0.tgz kinetic-core-customizations-job kinetic-platform-application -
Run the following command to remove the existing configuration files from the core customization folder:
rm -rf ~/working-directory/core-customizations/files/secrets/* -
Run the following command to create the chart .yaml file:
mv ~/working-directory/core-customizations/Secret.yaml ~/working-directory/core-customizations/Chart.yaml
Retrieve Existing Configuration Files from the Environment
-
Run the command below to create
get_files.sh. This script retrieves the existing configuration files from your environment.touch ~/existing-customization-data/get_files.sh chmod u+x ~/existing-customization-data/get_files.sh vi ~/existing-customization-data/get_files.sh -
Copy the following text into
get_files.sh:#!/bin/bash set -e #Retrive secrets from backup file echo "" echo "Retreive secrets in the environment" echo "" kubectl get secret -n kinetic core-customization-secrets -o json > core-customization-secrets.json file='core-customization-secrets.json' cat "$file" | jq -r '.data | keys[]' | while IFS= read -r value; do echo "$value" kubectl get secret -n kinetic \ core-customization-secrets \ -o jsonpath="{.data.${value//./\\.}}" \ | base64 -d \ > ~/working-directory/core-customizations/files/secrets/"$value" done # Check and View the newly created files echo "" echo "Check created files" ls ~/working-directory/core-customizations/files/secrets echo "" echo "Catting files to view files" for element in "${secrets[@]}" do echo "" file name: "$element" echo " " cat ~/working-directory/core-customizations/files/secrets/"$element" done echo "File copy complete" echo "Your next steps are: " echo " " echo "1. Update security.properties as seen in the SAML Configuration section of your guide." echo "" echo "2. Create secret.space-slug.properties for each Space slug you wish to integrate SAML in. Ensure you have the correct values set up." -
Run the
cdcommand to navigate to the "existing-customization-data" directory.cd ~/existing-customization-data -
Run the following command to execute the "get_existing_configuration_files.sh" script:
./get_files.sh
Update the Configuration File to Enable SAML Strategy
-
Run the following command to navigate to the core customization configuration folder and view the files in the folder:
cd ~/working-directory/core-customizations/files/secrets && ls -
Modify the security.properties file in the configuration folder to enable the SAML strategy by uncommenting the specified properties.
Adding line one is what enables the SAML strategy.
security.strategy=com.kineticdata.core.web.security.strategies.saml.SamlSecurityStrategy security.keystore.path=/keystore.jks security.keystore.password=changeit security.keystore.defaultKey=defaultkey # Ten years security.saml.maxAuthnAge=315569520 -
Create a Space-level configuration file for the Space where you want to enable the SAML strategy. Replace the word "EXAMPLE" with the space slug of the space you want to configure in the below command:
cp security.SPACESLUG.properties security.EXAMPLE.properties -
Open and edit the security.space-slug.properties file according to the pattern in the example below to meet your organization's specifications.
IMPORTANT: The following lines MUST be included and uncommented in your security.space-slug.properties file for authentication to work correctly:security.autocreate=truesecurity.autoupdate=truesecurity.saml.useForwardedForHeader=truesecurity.saml.loginPopup=truesecurity.saml.enabled=true
The following code is only an example of the security.space-slug.properties file and must be edited for your Space. If you need assistance configuring this file, contact Kinetic Support with your SAML resource available for assistance.
# The security system lets you choose whether the user details can auto-create and auto-update local user data.
# Not all configurers will necessarily support this behavior.
# NB: Successful authentications still require a valid User object within Core Edition.
security.autocreate=true
security.autoupdate=true

security.saml.useForwardedForHeader=true
security.saml.loginPopup=true

## Enable SAML support for this space.
security.saml.enabled=true
## Define the SAML attributes to  map to email and display name.
security.saml.attributes.email=email
#security.saml.attributes.displayName=FullName
#security.saml.mappings.userAttribute.0.regexMatch=
#security.saml.mappings.userAttribute.0.regexReplace=
#security.saml.mappings.userAttribute.1.name=Office Location
#security.saml.mappings.userAttribute.1.mapping=Office Location
#security.saml.mappings.userAttribute.1.regexMatch=
#security.saml.mappings.userAttribute.1.regexReplace=

#security.saml.mappings.userAttribute.3.name=Site Location
#security.saml.mappings.userAttribute.3.mapping=Site Location


## SAML Service Provider Configuration

## Specify the base URL for the SAML service provider. This must be formatted like this:
## http[s]://hostname[:port]/context/[spaceSlug]/app
## The context will usually be "kinetic". Note that /app does not end in a trailing slash.
## Required: This is required for SAML to effectively build the automated metadata.
## The SP metadata URL is the URL specified plus: /saml/metadata/alias/space-slug
## Example SP Metadata URL: http://localhost:8080/kinetic/acme/app/saml/metadata/alias/acme
## This URL needs to be shared with the IdP.
security.saml.sp.url=https://saml-testing.kinops.io/app

## Specify a custom entity ID for this service provider.
## Optional. The default value is generated as "com:kineticdata:core:SPACESLUG:sp"
security.saml.sp.entityid=https://saml-testing.kinops.io/

## Advanced Service Provider settings:
## Profile used for verification of SSL/TLS connections.
## Values: "pkix" or "metaiop".
## Optional. Default "pkix"
#security.saml.sp.sslsecurityprofile=pkix

## The key used to sign interactions with the SP. This key must be in the keystore and it must
## contain both the public and private key.
#security.saml.sp.signingkey=defaultkey

## The key used to encrypt interactions with the SP. This key must be in the keystore and it must
## contain both the public and private key.
#security.saml.sp.encryptionkey=defaultkey

## Specify the keys for active IDPs.
security.saml.providers=ssocircle

## Example URL-based metadata.
## NB: You must ensure that the SSL certificate or trust certificate is in the global keystore.
security.saml.idp.ssocircle.name=SSO Circle
security.saml.idp.ssocircle.type=url
security.saml.idp.ssocircle.url=https://idp.ssocircle.com/meta-idp.xml
Configure Core Customization Using configure.sh
-
From your CLI, run the following command:
touch ~/working-directory/configure.sh chmod u+x ~/working-directory/configure.sh vi ~/working-directory/configure.sh -
Run the following command to update the configure.sh file:
#!/bin/bash # Perform upgrade of core customizations echo "" echo "Running the helm upgrade command..." echo "" helm upgrade core-customizations ~/working-directory/core-customizations -n kinetic # Restart core deployment to apply new changes echo "" echo "Roll out Restart Core" kubectl rollout restart deployment core -n kinetic kubectl rollout status deployment core -n kinetic -w -
Run the following command:
cd ~/working-directory/ ./configure.sh -
Navigate to the following URL and download the metadata file. This file contains information you'll need to provide to your SAML provider:
https://${space-slug.example.com}/app/saml/metadata/alias/${space-slug}
Replace the URL with the appropriate space slug and domain information. -
Send the metadata file to your SAML provider.
-
From the Space console, go to Configuration > Settings > Security.
-
Enter your identity provider's HTTP address in the Trusted Resource Domains field.
-
Enter your identity provider's domain name in the Trusted Frame Domains field. This value tells Kinetic that traffic forwarded from the identity provider is safe.

Example of configured Resource and Frame Domains
-
Once your SAML provider has configured the appropriate settings, you can test your login.
Test Your Configuration and Clean Up
- Open your Kinetic login page. You should be signed in automatically if your SAML connection was configured correctly.
- If the test is successful, run the following command to clean up the working directory you created:
rm -rf ~/working-directory - If the test is unsuccessful, contact Kinetic Support for assistance.
Updated 3 months ago