How to Mass Import Form Submissions
Overview
There may be times when you want to update a number of form submissions at once. For example, let's say you want to update each submission in your Vehicle Registration List form to include the vehicle trim. Instead of updating each record individually, you can use the Export and Import Submissions process to import a CSV file containing the information you want to bring over.
Before You Begin
Keep the following notes in mind before importing records using the Import Submit process:
- The Import Submission process can update existing submissions and create new submissions using the same file.
- Submissions added using the Import Submissions process are NOT validated and WILL NOT trigger workflows to run. As such, we don't recommend importing submissions into a new form using this method. See How to Mass Submit Form Submissions for instructions on how to import new submissions that are validated and trigger workflow runs.
- Submissions can only be imported at the Form level, not the Kapp level.
Preparing the CSV File
Exporting Existing Submissions
You can use the Export Submissions command to obtain a CSV file containing all submission information when updating existing submissions. This makes it easy to update the information for each submission, and then mass import the updates back into the Platform.
Note: If you are populating a brand new form (for example, because you want to create submissions in an new Space that were sourced from an older Space), you should still use the Export Submissions command instead of creating a CSV file from scratch to ensure the CSV file contains the correct fields.
Follow these steps to export a submission CSV file:
- Navigate to the form you want to export submissions for.
- If you are adding a new field to the form, make sure the field exists in Form Builder (or add it if necessary).
- On the Submissions tab, select Submission Actions > Export Submissions.
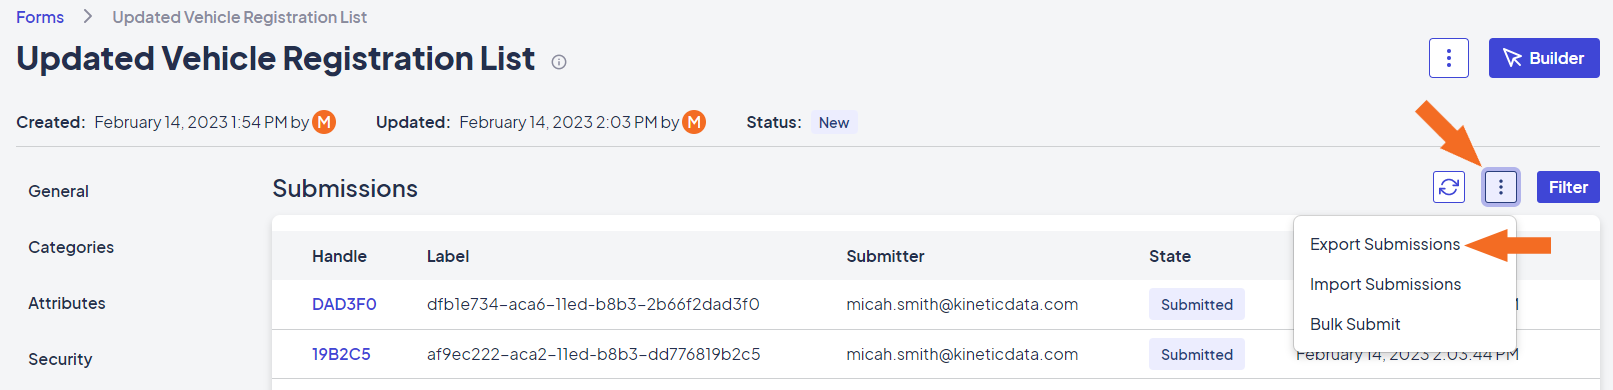
Export Submissions command in the Submission Actions menu
You can update the CSV file using your preferred editor.
Fields Required for Import
The exported CSV file includes the list of metadata fields below, followed by the field names. The underscore before each ensures metadata field distinguishes them with form fields.
| Metadata Field | Purpose | Required for Import? |
|---|---|---|
_id | No | |
_coreState | Yes | |
_currentPage | No | |
_formType | No | |
_parent | No | |
_origin | No | |
_createdAt | Yes | |
_createdBy | Yes | |
_updatedAt | Yes | |
_updatedBy | Yes | |
_submittedAt | Yes (if the record has a State of Submitted) | |
_submittedBy | Yes (if the record has a State of Submitted) | |
_closedAt | Yes (if the record has a State of Closed) | |
_closedBy | Yes (if the record has a State of Closed) |

Example of an import file
Using the Import Submissions Process
Follow these steps to import the CSV you updated into the Platform:
- In the Platform, access the Kapp containing the form you want to update, then navigate to the form.
- On the Submissions tab, select Submission Actions > Import Submissions.
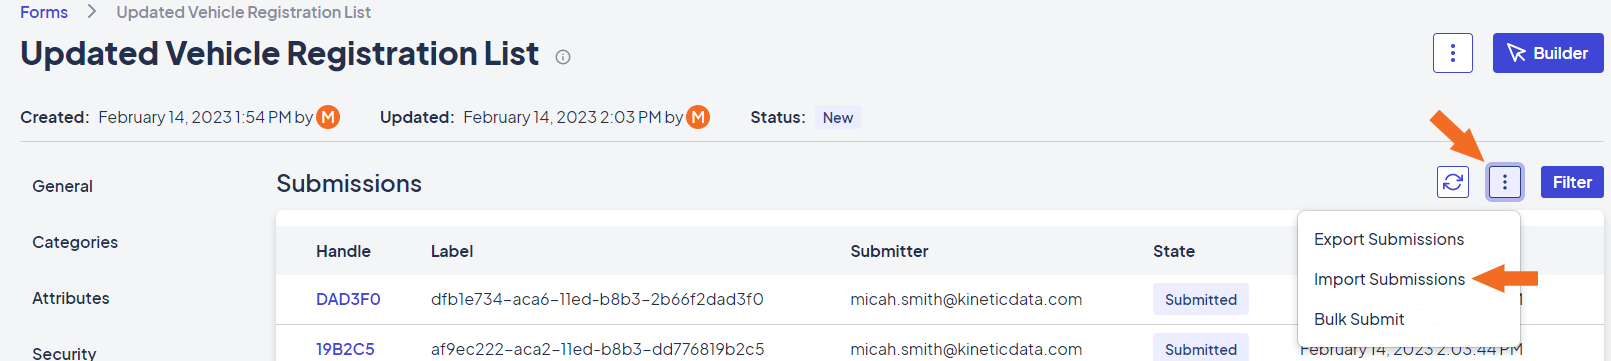
Import Submissions command in the Submission Actions window
- Drag and drop the file you want to import into the Submissions Import window, or click Browse to search for and select the file.
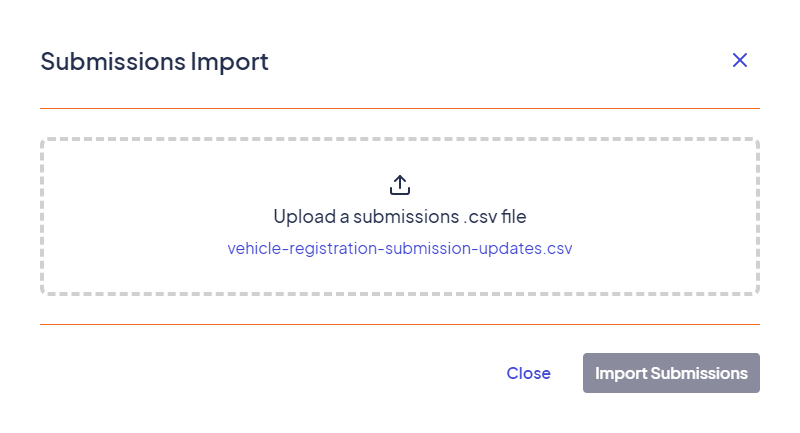
Submissions Import modal window
- Click Import Submissions to begin the import process.
- Once the import has finished, click Close. The Submissions tab is automatically updated to list the submissions created during the process.
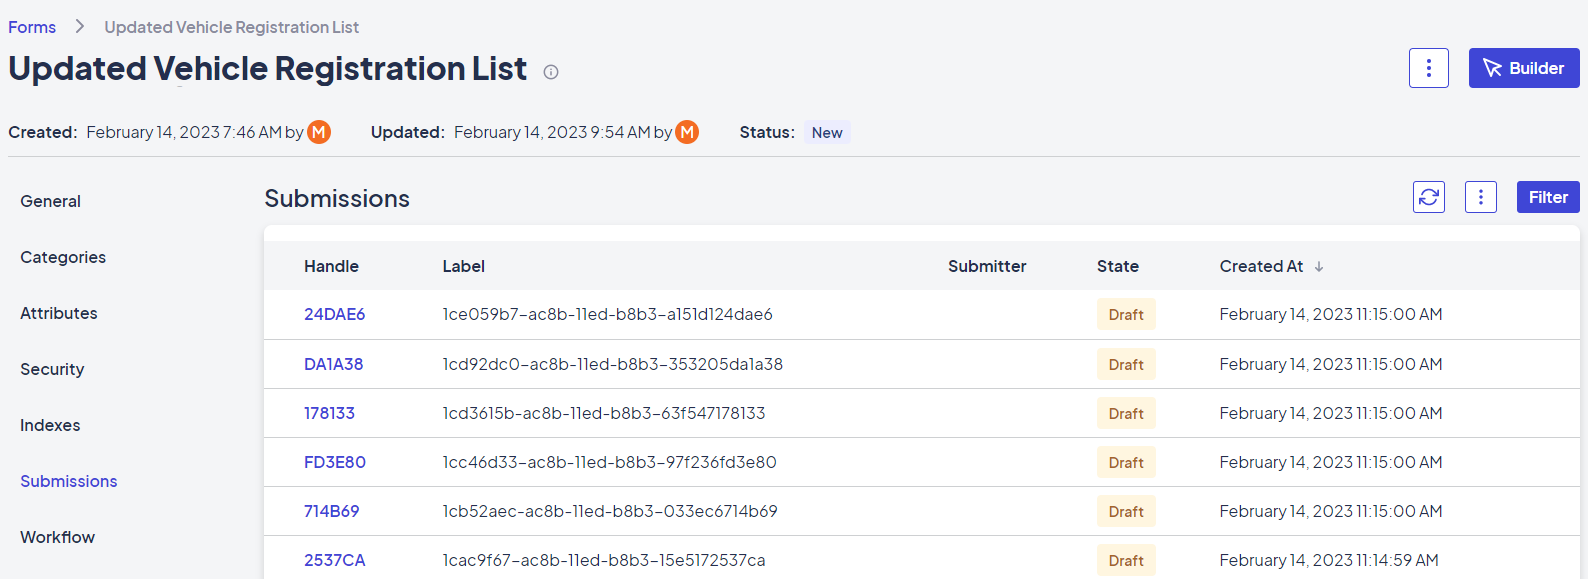
Updated Submissions tab
Updated 4 months ago