Building Your First Form
Build Your First Form
Now that you’ve created your Kapp, it’s time to build your first form. A form is the building block of how users interact with your Kinetic application. In this section, you’ll create a simple Onboarding Request Form that collects information and sets the foundation for workflows later.
What You’ll Build
A form called Onboarding Request Form that includes:
- Basic employee details (name, department)
- A list of systems required for the role
- A hidden field to track the request’s status
This form will kick off a workflow in a future section.
Where to Build
- In the Space Console, under the Build section click on Kapps
- Select your Kapp (e.g.,
Onboarding) - Click Forms in the left-hand menu
- Click + New Form
You can also navigate by clicking the down arrow on the left-hand side menu. This will bring a dropdown of all your available Kapps.
Create the Onboarding Request Form
Basic Info
- Name:
Onboarding Request Form - Status: Active
- Click Create Form
- In the top right of your new page, you will see a Builder button. Click on this button.
This brings you into the Form Builder, where you’ll start adding fields.
Understanding the Form Builder
Before you start adding fields, let’s take a quick tour of the Form Builder so you know what to expect.
Forms in the Kinetic Platform are made up of Pages, Sections, and Elements (like fields, buttons, and labels). Here's how it all fits together:
Pages
Every form must have at least one Page. It's the top-level container that holds your entire form. Pages are especially useful when breaking up longer forms into steps or phases.
See An Example
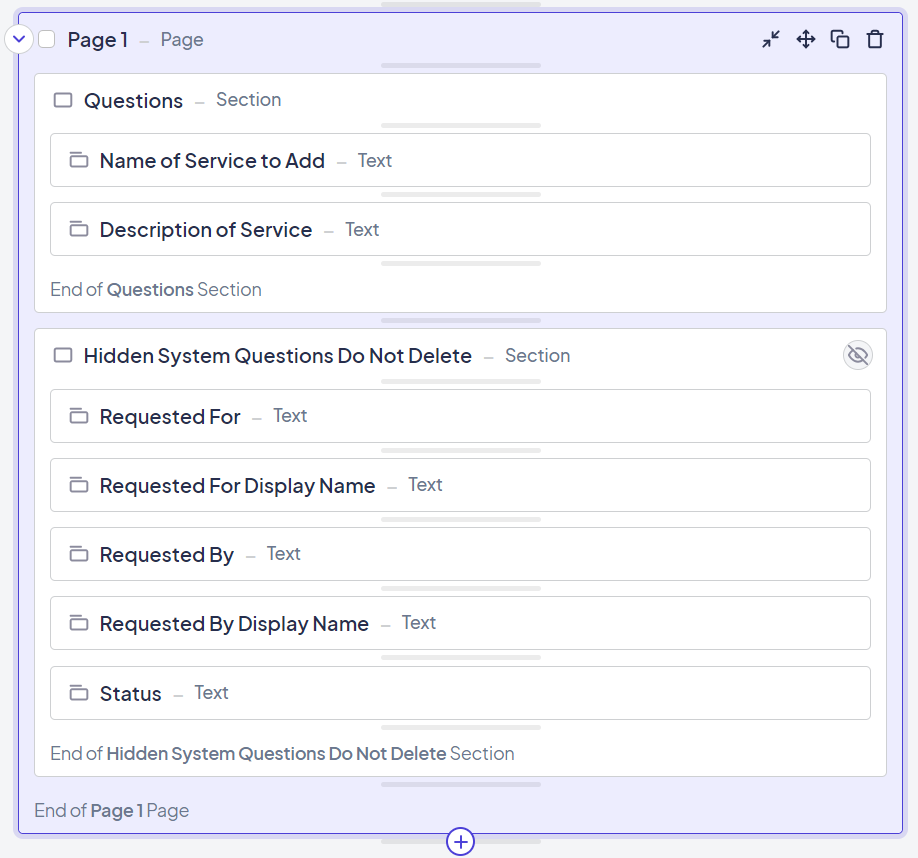
Sections
Sections are used to group elements together, either for visual clarity or for conditional logic (like showing/hiding a group of fields).
See An Example
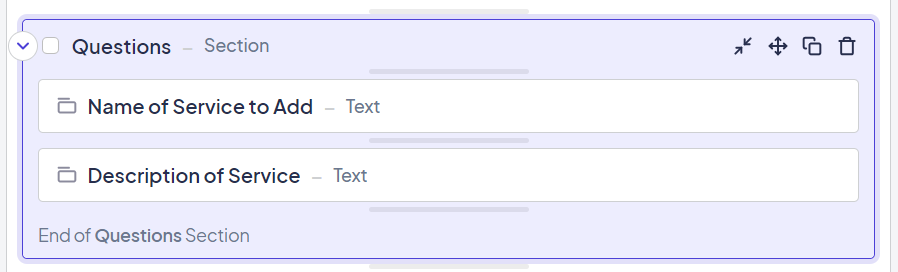
Use them to:
- Create visual separation (e.g. Personal Info vs Department Details)
- Control visibility (e.g. hidden metadata)
- Drive conditional display rules
Elements (Form Fields)
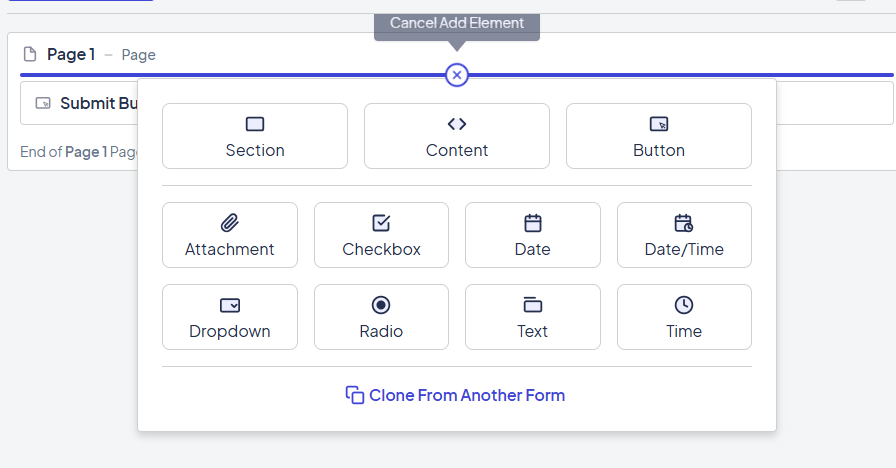
Inside sections, you add elements, which include input fields, content, and functional items. Some of the most common field types include:
- Text – Single or multi-line inputs for names, comments, etc.
- Dropdown – Choose one value from a list
- Checkbox – Select multiple items from a list
- Radio – Choose a single option
- Date / DateTime – Select a date (and optionally a time)
- Attachment – Upload files
- Hidden Fields – Used to store values like submission status or internal metadata
See An Example
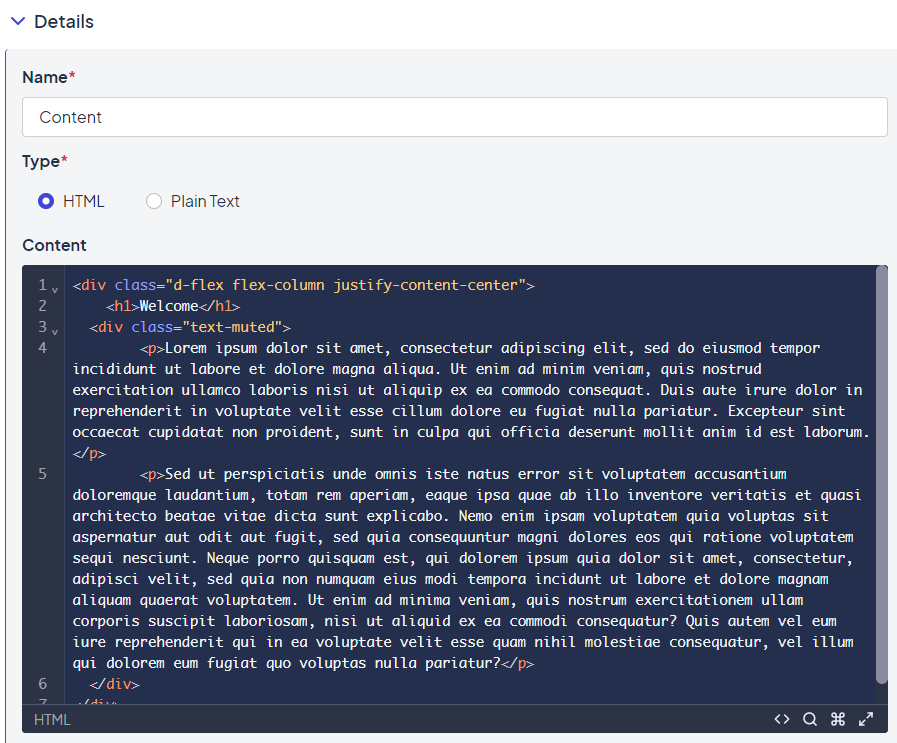
Content Elements
You can also add non-input elements, like:
- Content Blocks – Add helpful messages, HTML, or custom text
- Buttons – Submit, navigate between pages, or run custom scripts
See An Example
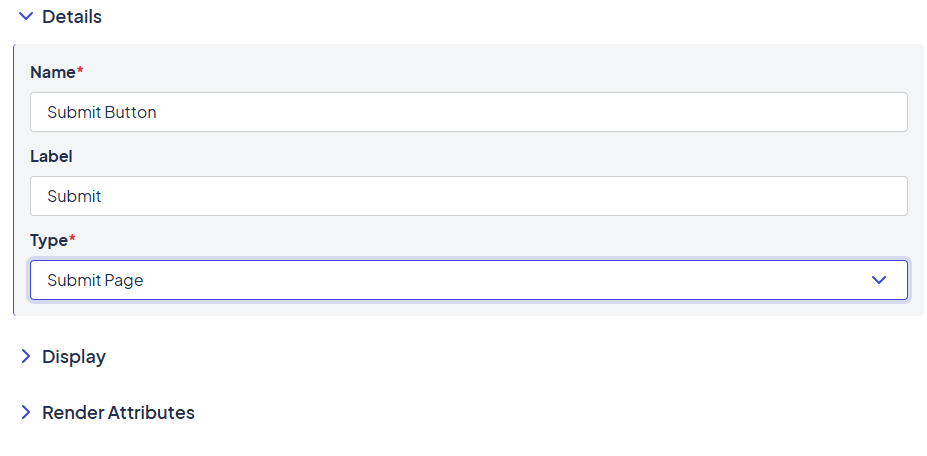
Buttons
Choose from:
- Submit Page – Submits current page content
- Previous Page – Navigate back (does not auto-save)
- Save for Later – Saves current progress
- Custom – Define advanced behavior with JavaScript
See An Example
Add Form Fields
Now it’s time to start building your form by adding individual fields to collect user input.
You'll add each field into the default Page and Section that are automatically created for you. You can rename or restructure these later if you’d like, but for now, we’ll keep things simple.
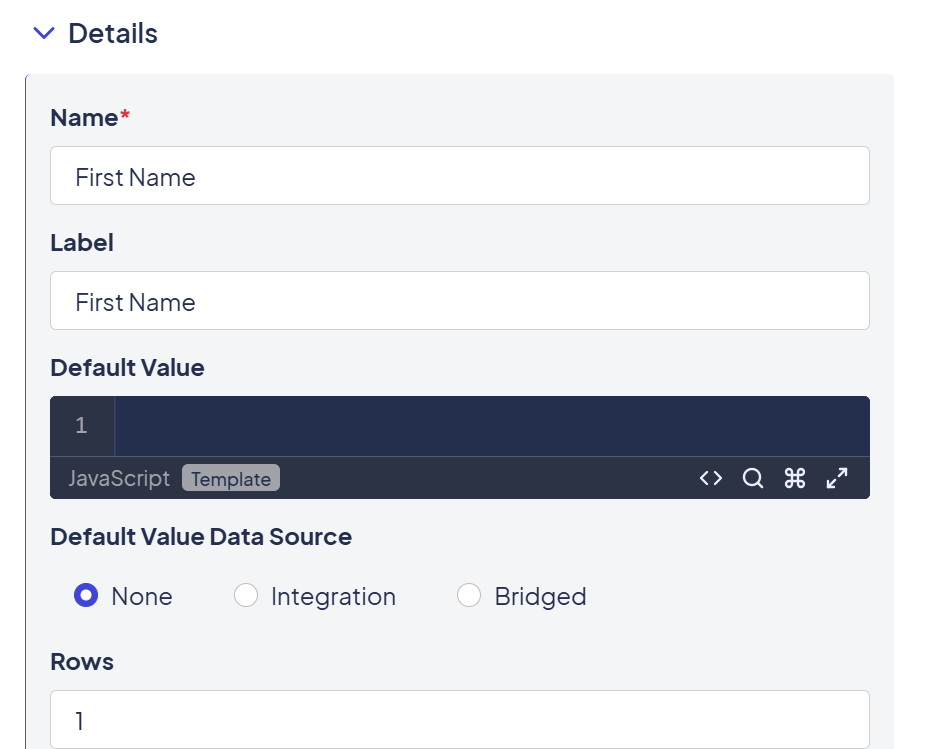
1. First Name
This will be a basic text field to collect the user's first name.
To add:
- Hover your mouse over the grey bar above the Submit Button field. Click +.
- Choose Text from the list of element types
- Set the Name to
First Name - (Optional) You can set a Label if you want it to display differently from the name used in the backend — otherwise, it will default to the field name
- Click Save
See it in action
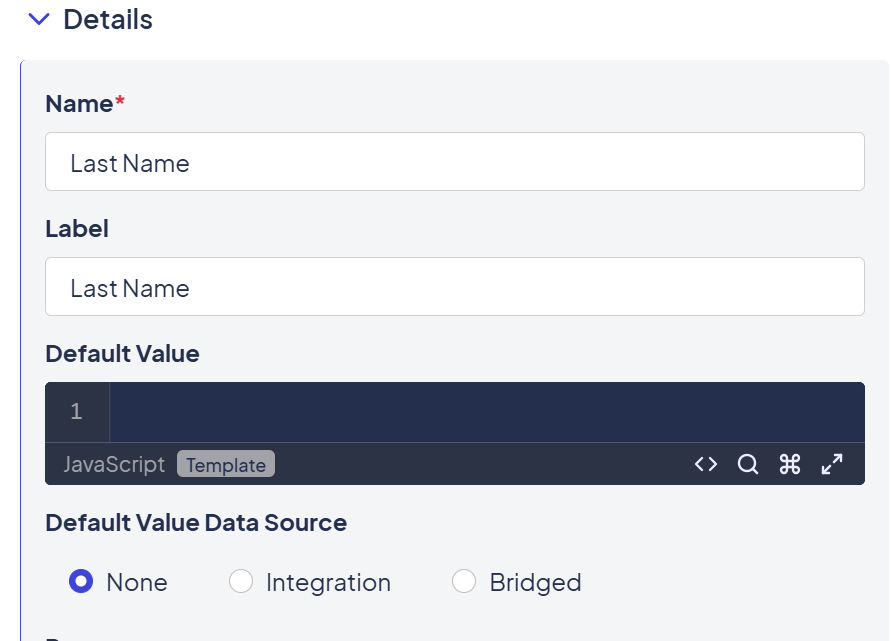
2. Last Name
Follow the same steps to collect the user's last name.
To add:
- Click + Add Element
- Choose Text
- Set the Name to
Last Name - Click Save
Tip: Use short field names and consistent casing (e.g.First Namenotfirst name) for clarity across workflows.
See it in action
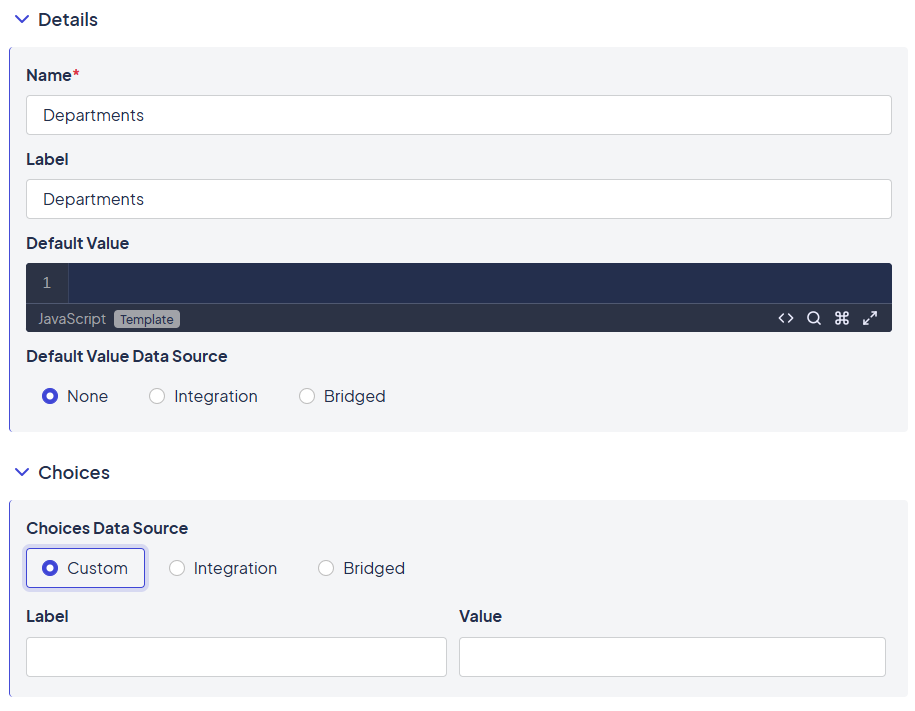
3. Department
This dropdown will let the user choose a department. We’ll hook it up to a dynamic integration later, but for now, we’ll leave it as a manual list.
To add:
- Click + Add Element
- Choose Dropdown
- Set the Name to
Department - Under Choices Data Source, leave the setting as Custom
- Don’t enter any choices yet — this field will be dynamically populated in Adding Integrations
- Click Save
Heads-up: Later, this field will be tied to your organizational structure and determine which manager is assigned for approvals.
See it in action
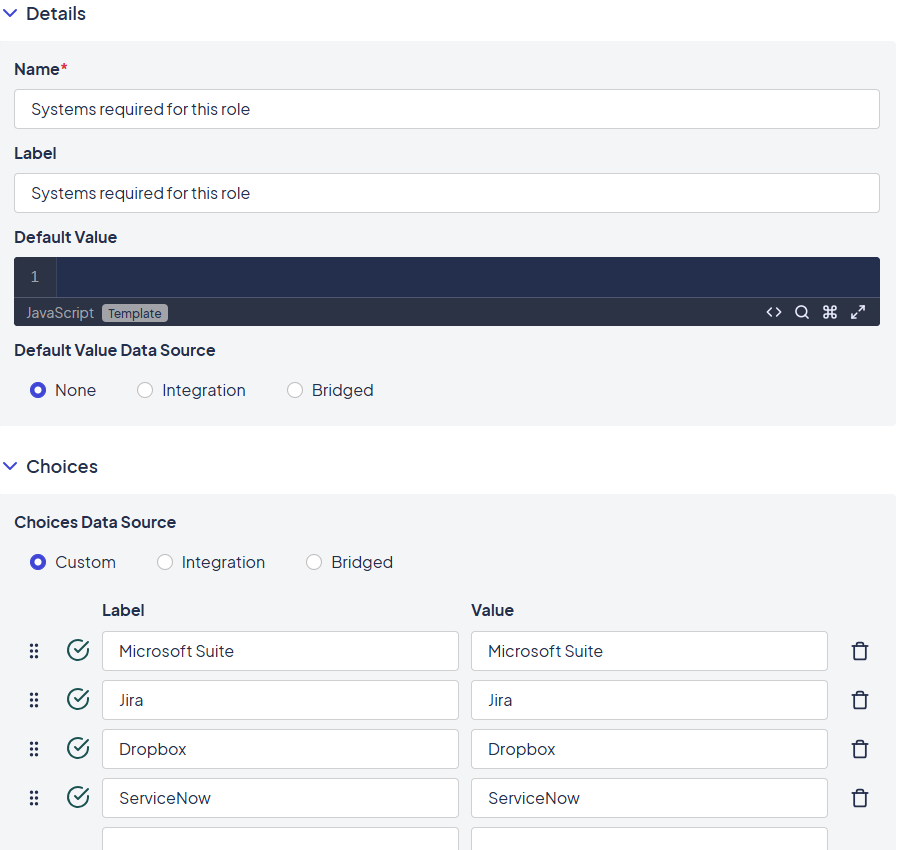
4. Systems Required
This checkbox list allows the user to select which systems the new hire will need access to.
To add:
- Click + Add Element
- Choose Checkbox
- Set the Name to
Systems required for this role - Under the Choices section, add the following:
- Microsoft Suite
- Jira
- Dropbox
- ServiceNow
- Click Save
Behind the scenes: These values are stored as an array and can later be used to trigger provisioning steps in your workflow.
See it in action
Once all four fields are created, your form should have a clean, user-friendly structure ready to collect core onboarding data. You can click Preview in the top right at any time to see what the form will look like to an end user.
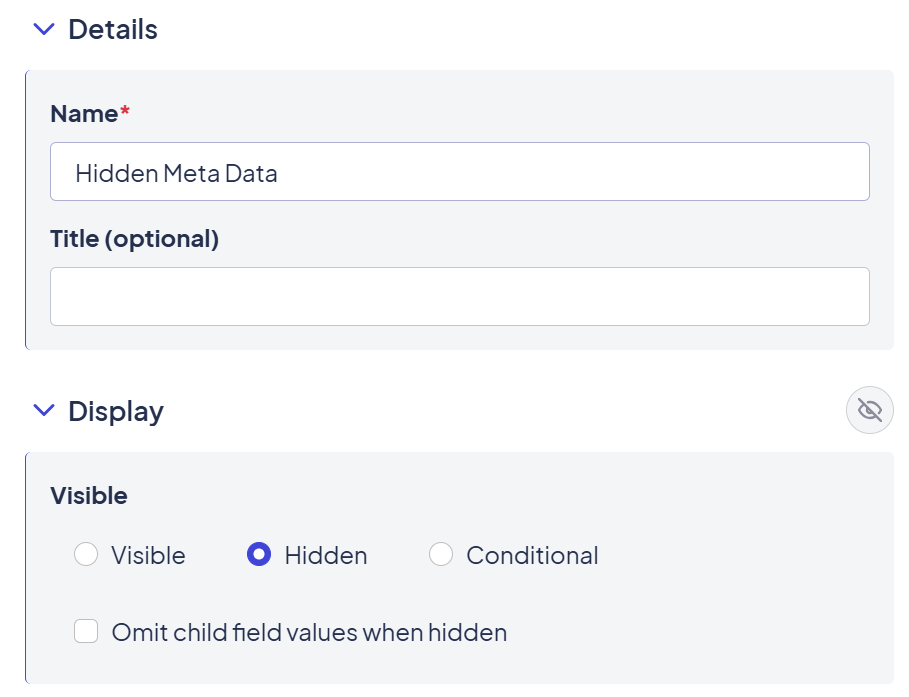
Add Hidden Metadata Fields
Sometimes you need to capture values that aren’t meant to be seen or edited by the user filling out the form, things like workflow status, assigned users, or external system IDs.
We’ll create a Hidden Metadata section to store these internal values safely within the form. These fields will be critical for workflows and integrations in later sections.
Create the Hidden Section
To add a hidden section:
- Beneath the Submit Button, click + Add Section
- Name it
Hidden Metadata - Under the Display settings:
- Set Visible to
Hidden
- Set Visible to
- Click Save Section
Now, anything placed in this section will not be shown to the user, but it will still be available to your workflows.
See it in action
1. Status
This field tracks the state of the onboarding request (e.g., Open, Approved, Closed).
To add:
- Inside the
Hidden Metadatasection, click + Add Element - Choose Text
- Set the Name to
Status - In the Default Value, enter
Open - Click Save
You’ll later update this field through workflow steps to indicate where the request is in the process.
See it in action

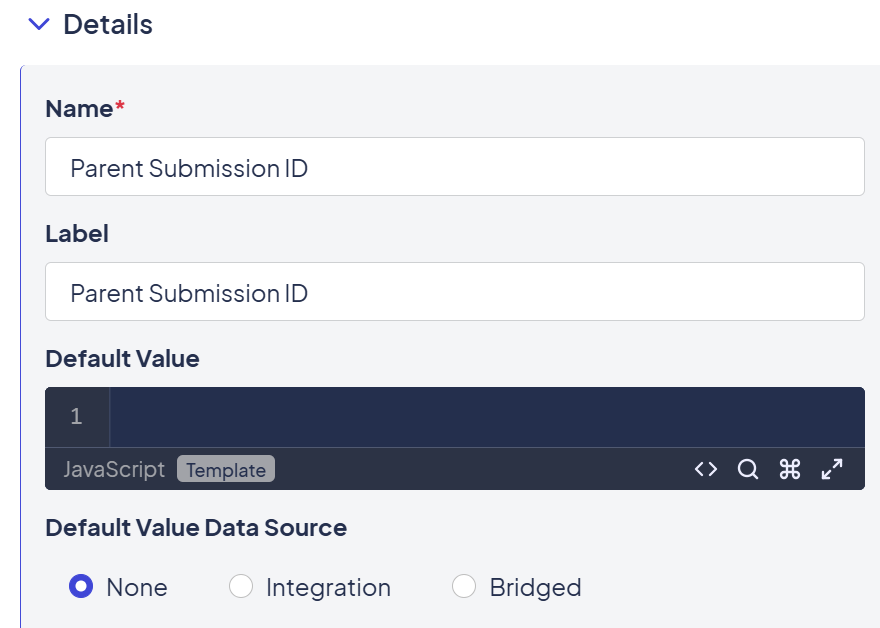
2. Parent Submission ID
This field allows workflows to link the Approval Form back to the original Onboarding Request.
To add:
- Click + Add Element inside the
Hidden Metadatasection - Choose Text
- Set the Name to
Parent Submission ID - Leave the Default Value blank — it will be populated during workflow execution
- Click Save
This is key for keeping related submissions connected, especially when approvals are involved.
See it in action
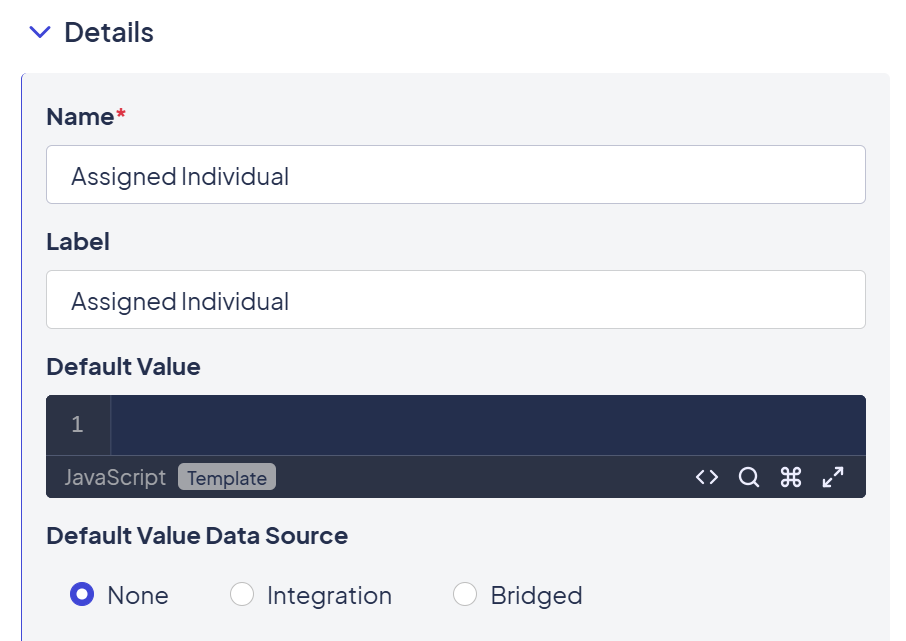
3. Assigned Individual
This field stores the email address of the manager (or team member) assigned to review or approve the request.
To add:
- Click + Add Element
- Choose Text
- Set the Name to
Assigned Individual - Leave Default Value blank
- Click Save
See it in action
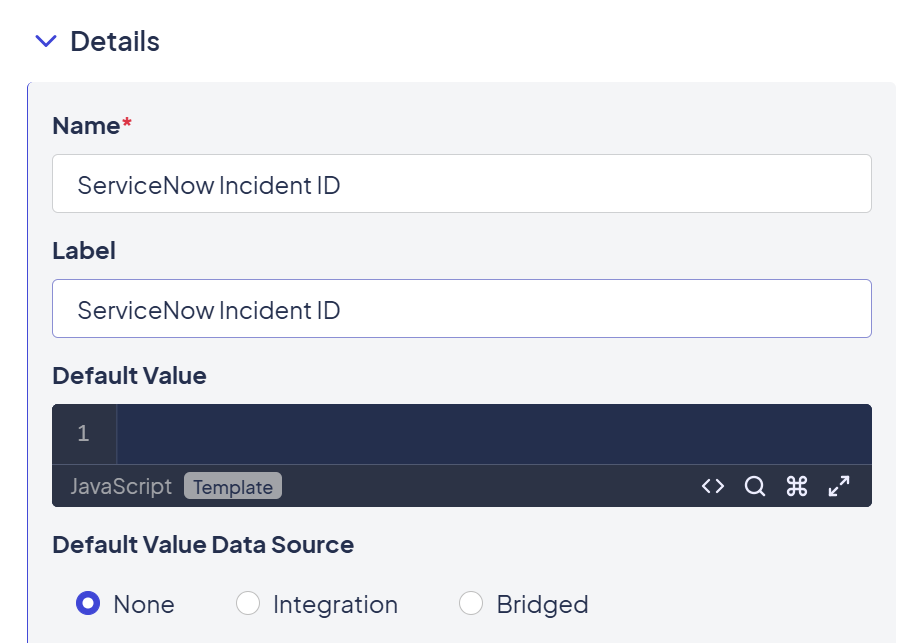
4. ServiceNow Incident ID
This field will hold the ID of the ticket created in ServiceNow (or any external system you connect). It ensures you can update or track that ticket later.
To add:
- Click + Add Element
- Choose Text
- Set the Name to
ServiceNow Incident ID - Leave Default Value blank
- Click Save
You’ll populate this once the workflow creates a ticket in ServiceNow in Integrating with External Systems.
See it in action
Final Check
At this point, your Hidden Metadata section should include:
Status(default: Open)Parent Submission IDAssigned IndividualServiceNow Incident ID
These fields won’t appear to the person filling out the form, but they’ll quietly power automation, logic, and integrations behind the scenes.
Tips & Best Practices
- Use clear, friendly field names — they’ll show up in submissions and workflows
- Hidden fields are great for tracking things like status, approval stage, or internal notes
- Checkbox fields can be used to kick off logic branches in your workflows
Next up: Teams & Dynamic Approvals — you’ll create organizational teams and use them to drive who gets notified and assigned during the onboarding process.
Updated 8 months ago